DAppNode
DAppNode is a simple platform for deploying and hosting DApps, P2P clients, and blockchain nodes. It provides a user-friendly way to set up and configure nodes with a couple of clicks. It is a Free Open Source Software, and can be used in the following ways
- Purchase one of their pre-installed DAppNode Servers. These are designed to be able to be run by those with very little technical know-how, and requires no command line at any point.
- Install DAppNode software on any compatible hardware or even a VPS. The installation is done by following their official installation documentation Here
Using DAppNode
This guide was done with the inestimable help of DAppNode Team Member @voss, with some additions from @Lanski.
Step 1. Install the required packages for validating
Once you have access to the Dappnode UI, go to the Stakers-UI page , you can access by clicking on http://my.dappnode/#/stakers/gnosis or click on the Stakers section you can find in the left Nav Bar, then click on the Gnosis tab.
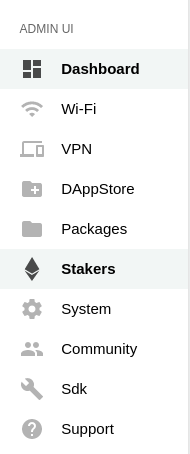
Make sure to select the Gnosis chain tab,
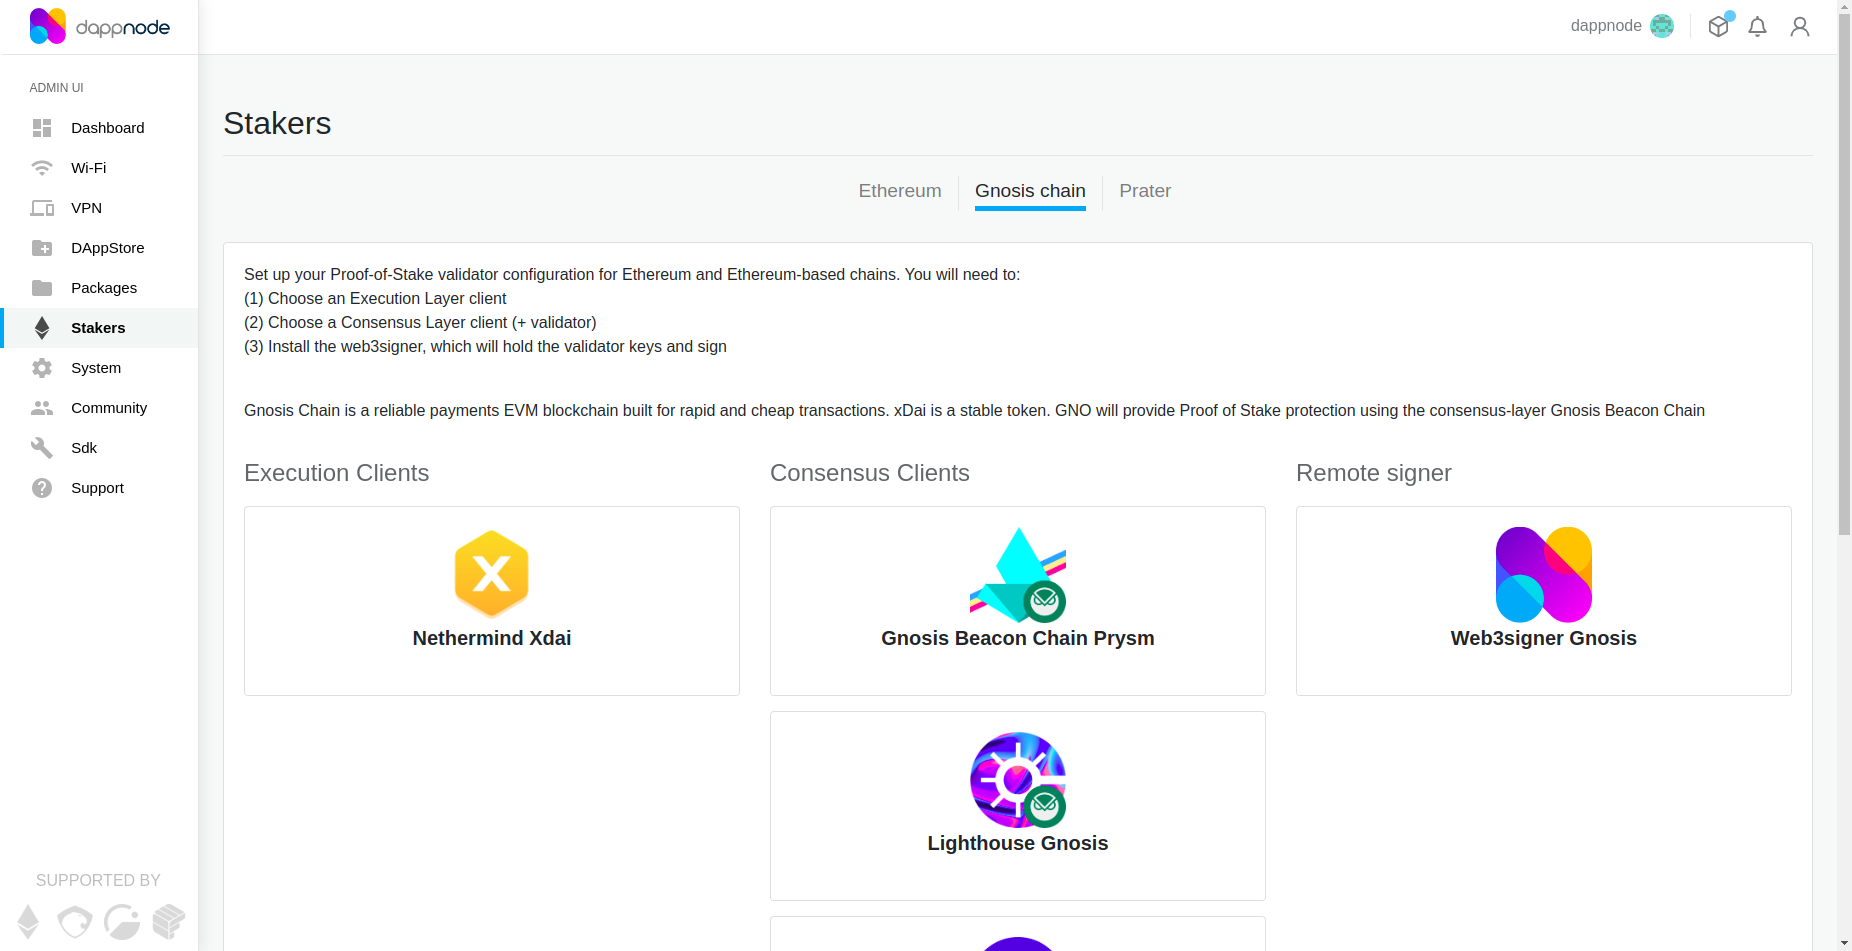
The next step is to select the combination of client you want to use in your dappnode. For this process you need to select:
-
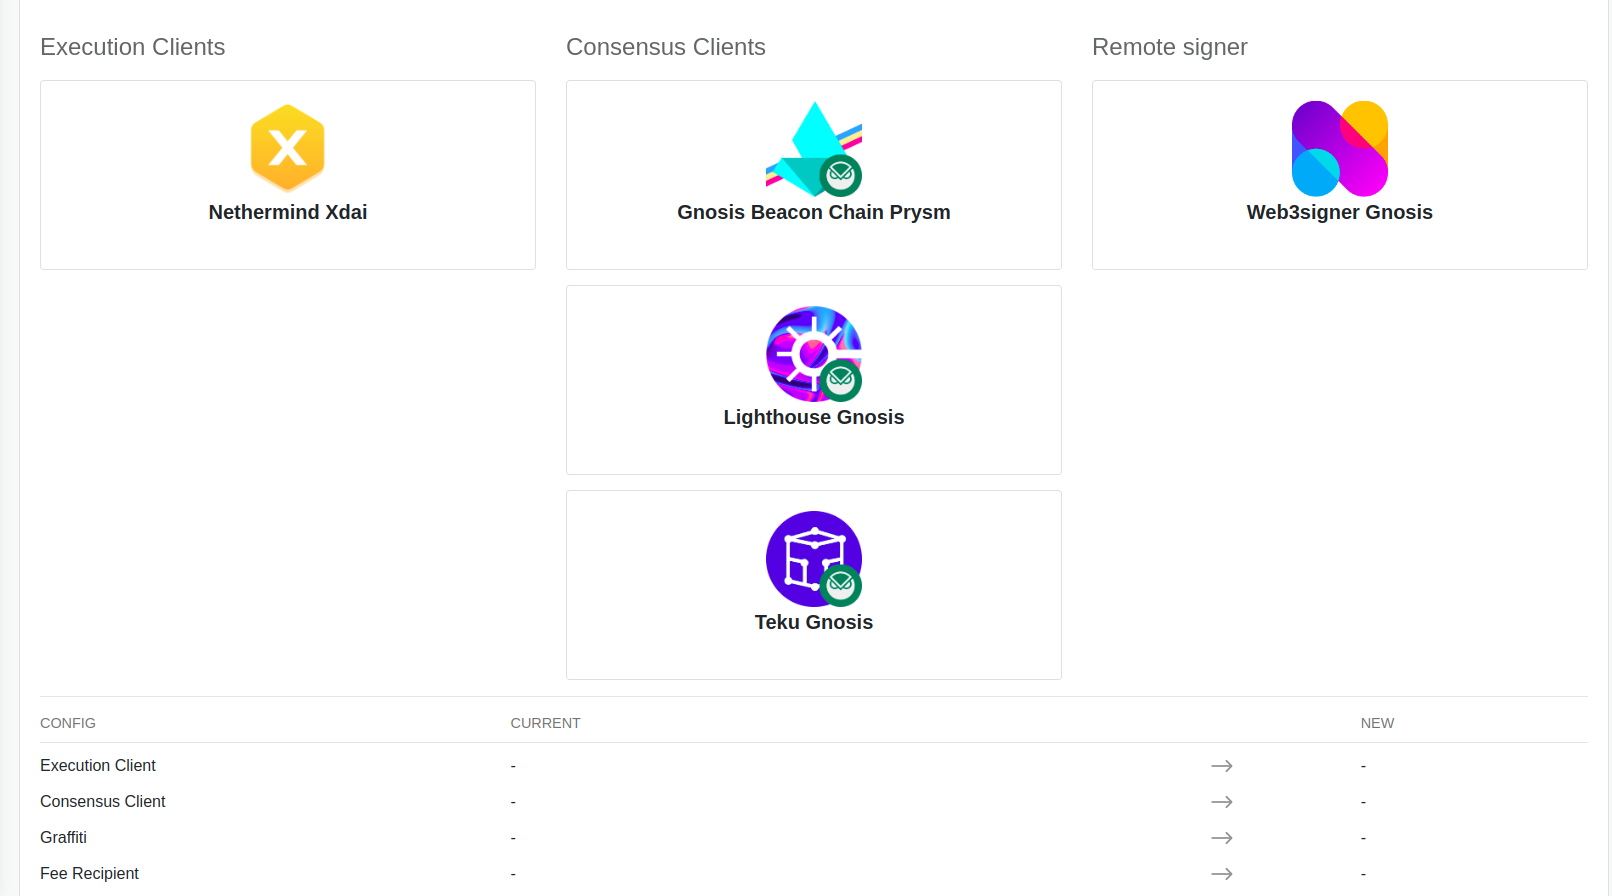
- Select the execution client package available in your Stakers UI (for example Nethermind or Erigon, package names may vary by version).
-
- Select the consensus client package (for example Teku or Lighthouse, package names may vary by version).
-
- Install the web3signer. This is required because this is the package that will contain the keystores.
-
Select the Execution client. In DAppNode's Gnosis Stakers UI, available execution client packages vary by version.
-
Select the consensus client. You will see the next fields when you click in the package chart.
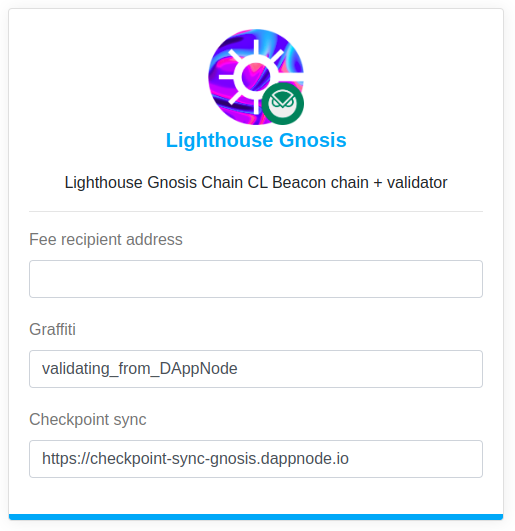
Fee Recipient Address
The fee recipient is the regular Gnosis 0x address that will receive priority fees of the proposed block. You will only receive fees at this address for blocks you propose, not for attestations. Any Gnosis EOA or Safe address
Graffiti
Choose a string that will be appended to your proposed blocks. You will be able to change later so it can be left as is for now.
Checkpoint for fast sync
To get your beacon node up and running in only a few minutes, you can start it from a recent finalized checkpoint state rather than syncing from genesis. This is substantially faster and consumes fewer resources than syncing from genesis while still providing all the same features.
Be sure you are using a trusted node for the fast sync. Get your checkpoint sync(Dappnode fills this field with the checkpoint sync they provide by default) from a running Gnosis Beacon Chain node or use the official one.
https://checkpoint.gnosischain.com
- Select the web3signer.
Then click in the below button that says "Apply changes"
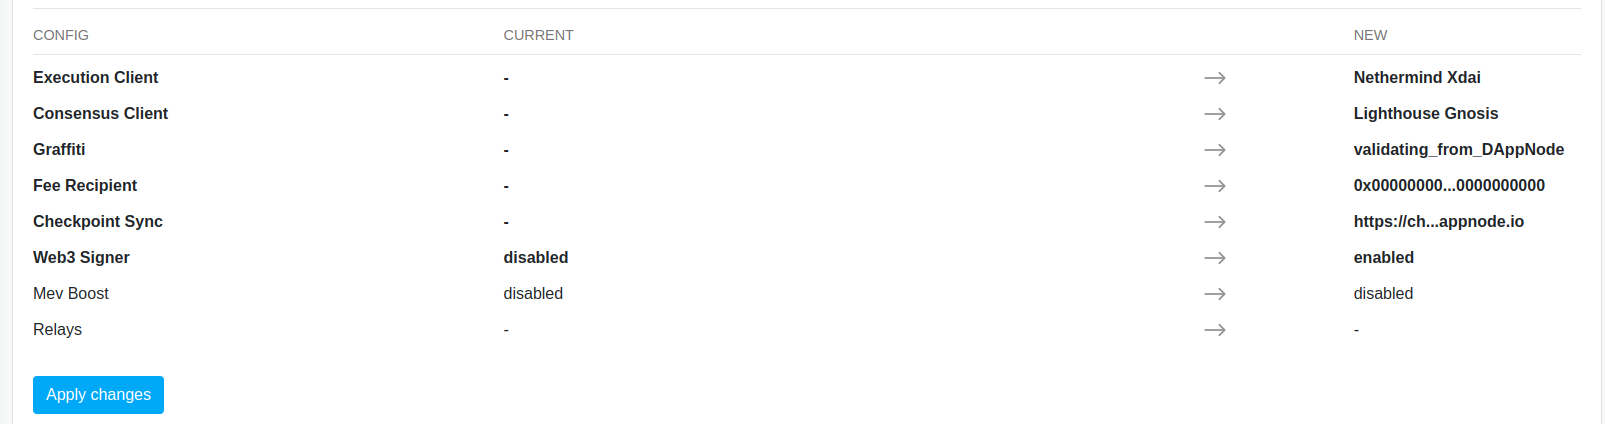
Be patient, the installation process can take several minutes. You can check all have been installed in the dashboard page.
Step 2: Key Generation
Docker Command Line Instructions (only needed if you have trouble with Wagyu)
Pull the docker image for the data generator
docker pull ghcr.io/gnosischain/validator-data-generator:latest
If this is your first time running the process and there is no existing mnemonic to generate keystores and deposit data, replace the variables below with your info, and then run the command.
docker run -it --rm -v /path/to/validator_keys:/app/validator_keys ghcr.io/gnosischain/validator-data-generator:latest new-mnemonic --num_validators=NUM --mnemonic_language=english --chain=gnosis --folder=/app/validator_keys --eth1_withdrawal_address=WITHDRAWAL_ADDRESS
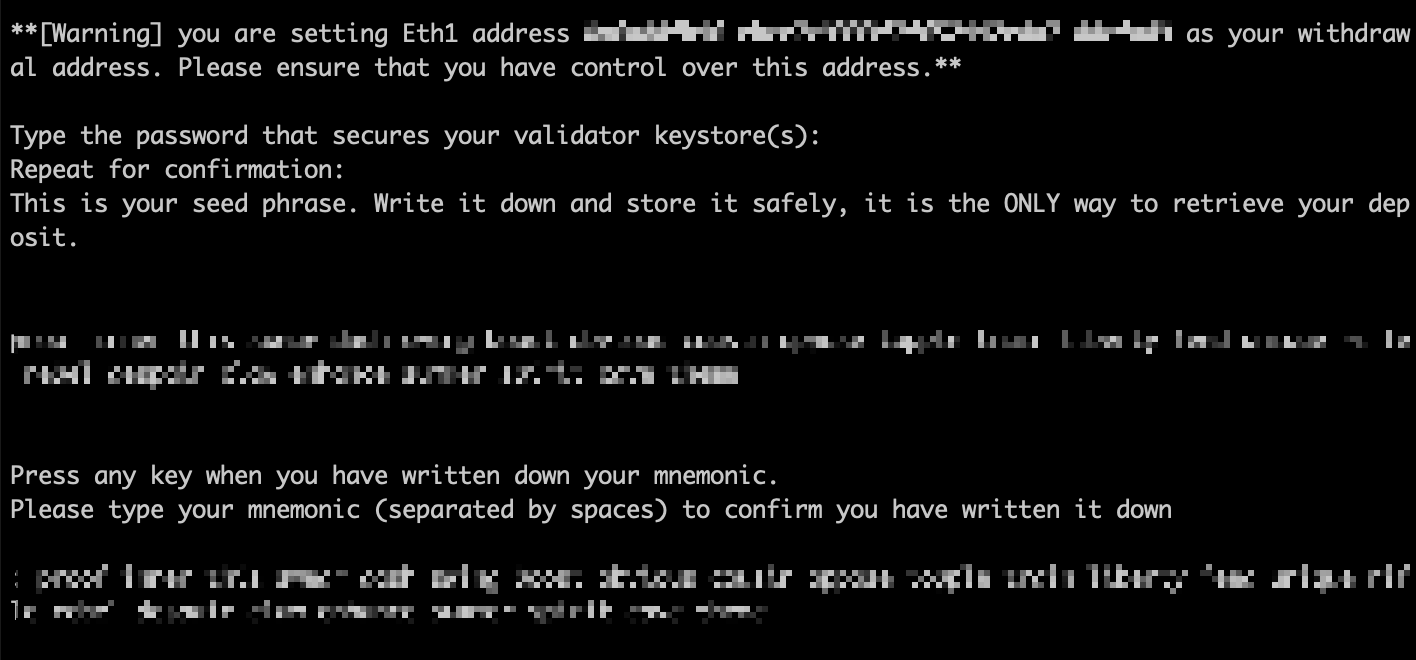
Choose a secure password and confirm. You will be shown a mnemonic seed phrase. Write down and store your keystore password and mnemonic safely offline.
Following execution, the path you defined for
/path/to/validator_keyswill contain the keystores anddeposit_data*.jsonfile.
Drop down for variable descriptions
NUMThe number of signing keys (validators) to generate.START_NUMIndex for the first validator key. If this is the first time generating keys with this mnemonic, use 0. If keys were previously generated with this mnemonic, use the subsequent index number (e.g., if 4 keys have been generated before (keys #0, #1, #2, #3, then enter 4 here).WITHDRAWAL_ADDRESSUse this parameter to provide a regular Gnosis Chain0xaddress for GNO withdrawals. This parameter can also be omitted to generate withdrawal credentials with the mnemonic-derived withdrawal public key in the EIP-2334 format./path/to/should be replaced with a valid and existing path where you want to create the validator_keys folder. Or, to create the validator_keys folder in your current working directory, use$(PWD)/validator_keys:/app/validator_keys- More details about command line arguments can be found here
We highly recommend generating keystores on a safe, completely offline device. To do so, you will need internet to access the latest release of Gnosis Chain Port of the Wagyu Key-Gen from GitHub (step 1), then disconnect internet or better yet copy the program to a USB drive to proceed with completely offline key generation (step 2), then finally save your deposit_data.json file (step 3) to a usb key or other transfer method that does not require online connection.
Securely backup your mnemonic, keystores, and password, and keep them in a safe place.
- Download the latest release of the Gnosis Wagyu Key Gen from here. There are binaries posted for Windows, macOS, Linux AMD64, and Linux ARM64, choose the appropriate binary for your OS, (or build from the source code if you’re so inclined).

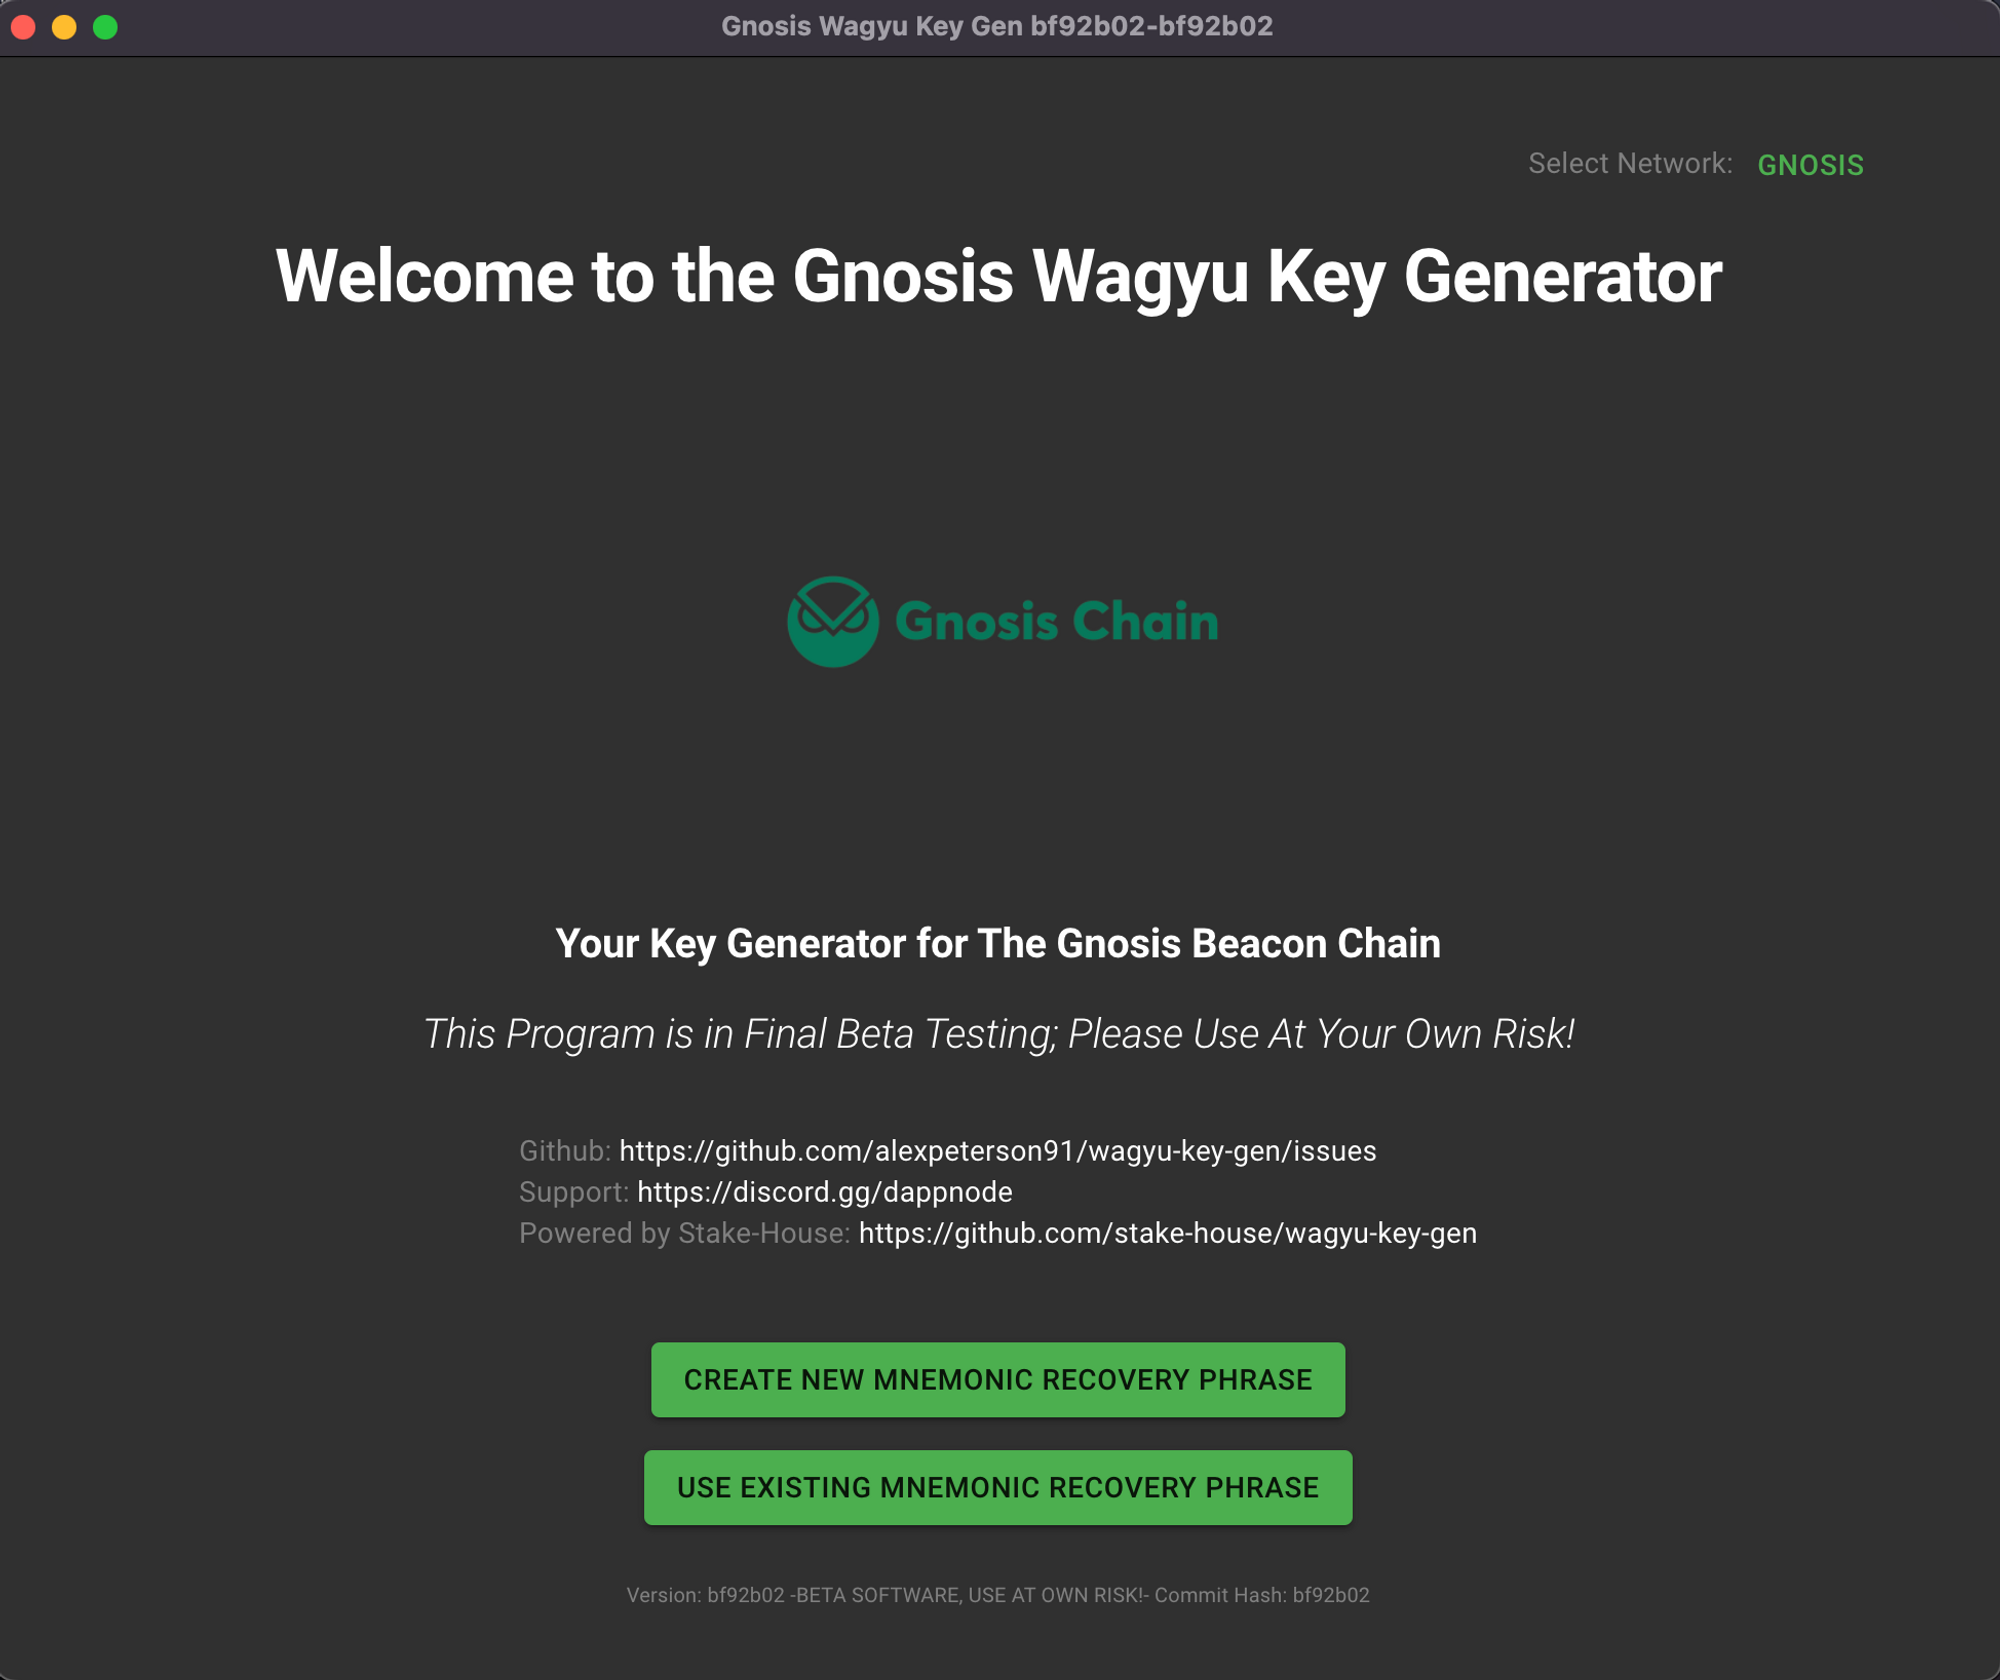
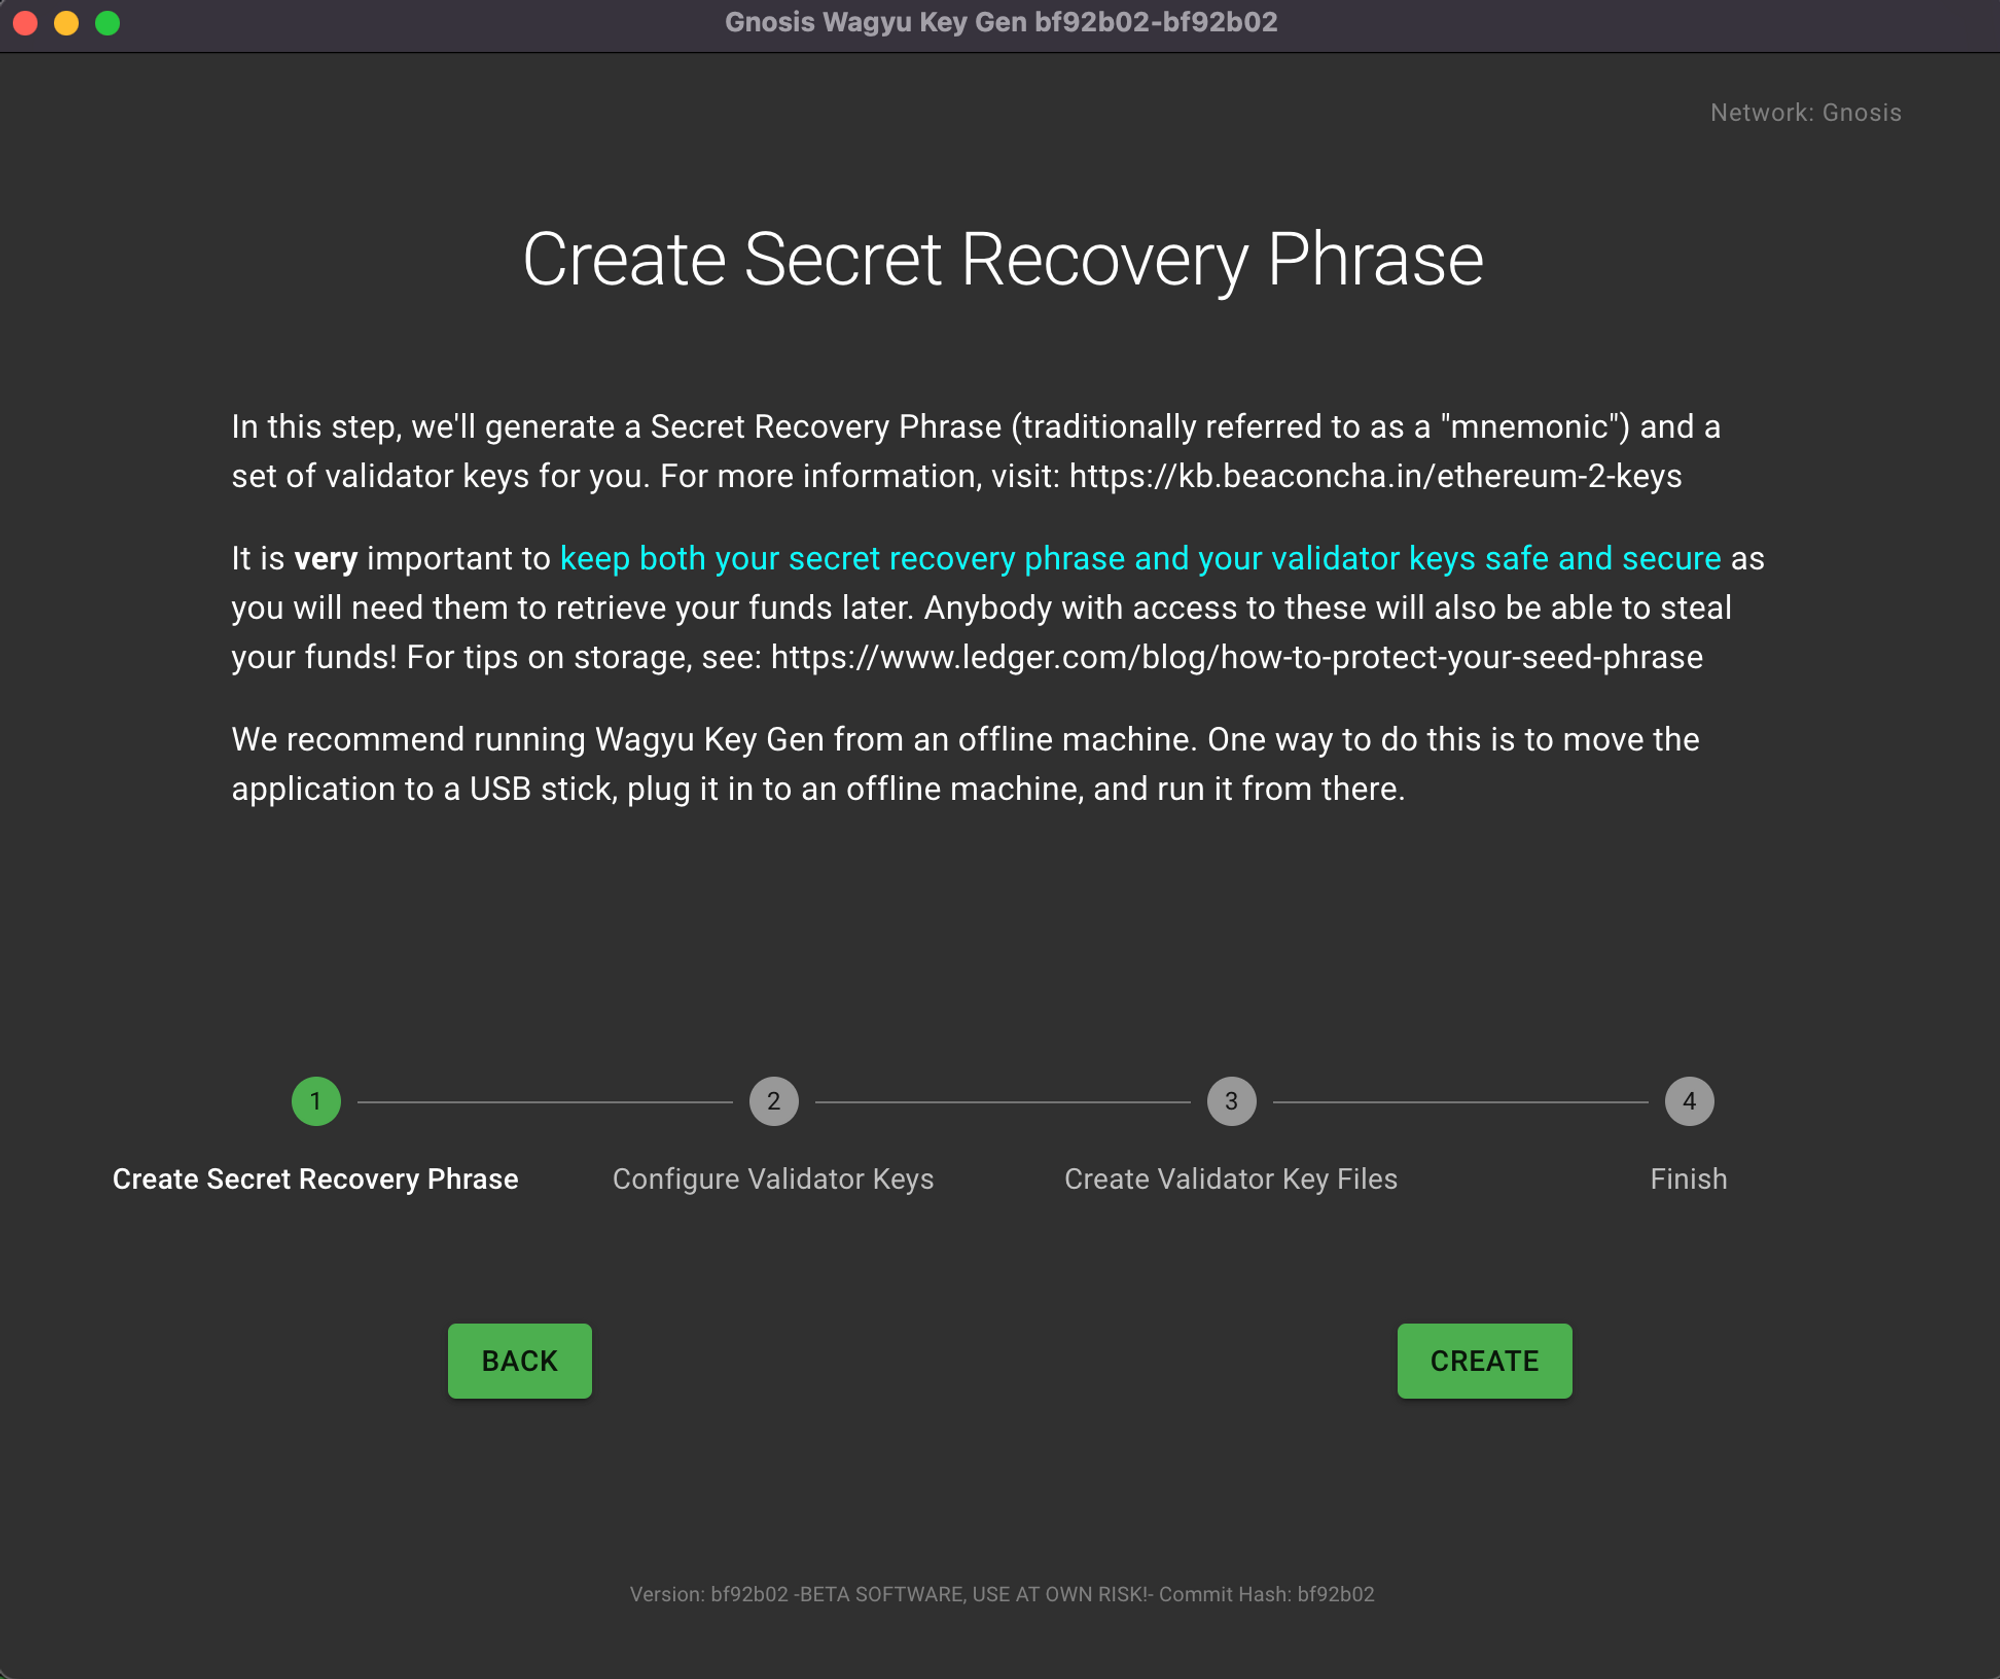
- Once you have downloaded the appropriate binary for your OS and are disconnected from the internet, go ahead and open the program. You will be given 2 options, either create a new mnemonic or import an existing mnemonic. The GUI is very user friendly and explains all steps along the way. Below are screenshots showing the flow for creating a new mnemonic. If importing a mnemonic you will need to ensure you select the proper start index on the configuration page so that you don’t create duplicate keys.

You will be shown this once again before you need to confirm it by entering each word one at a time.
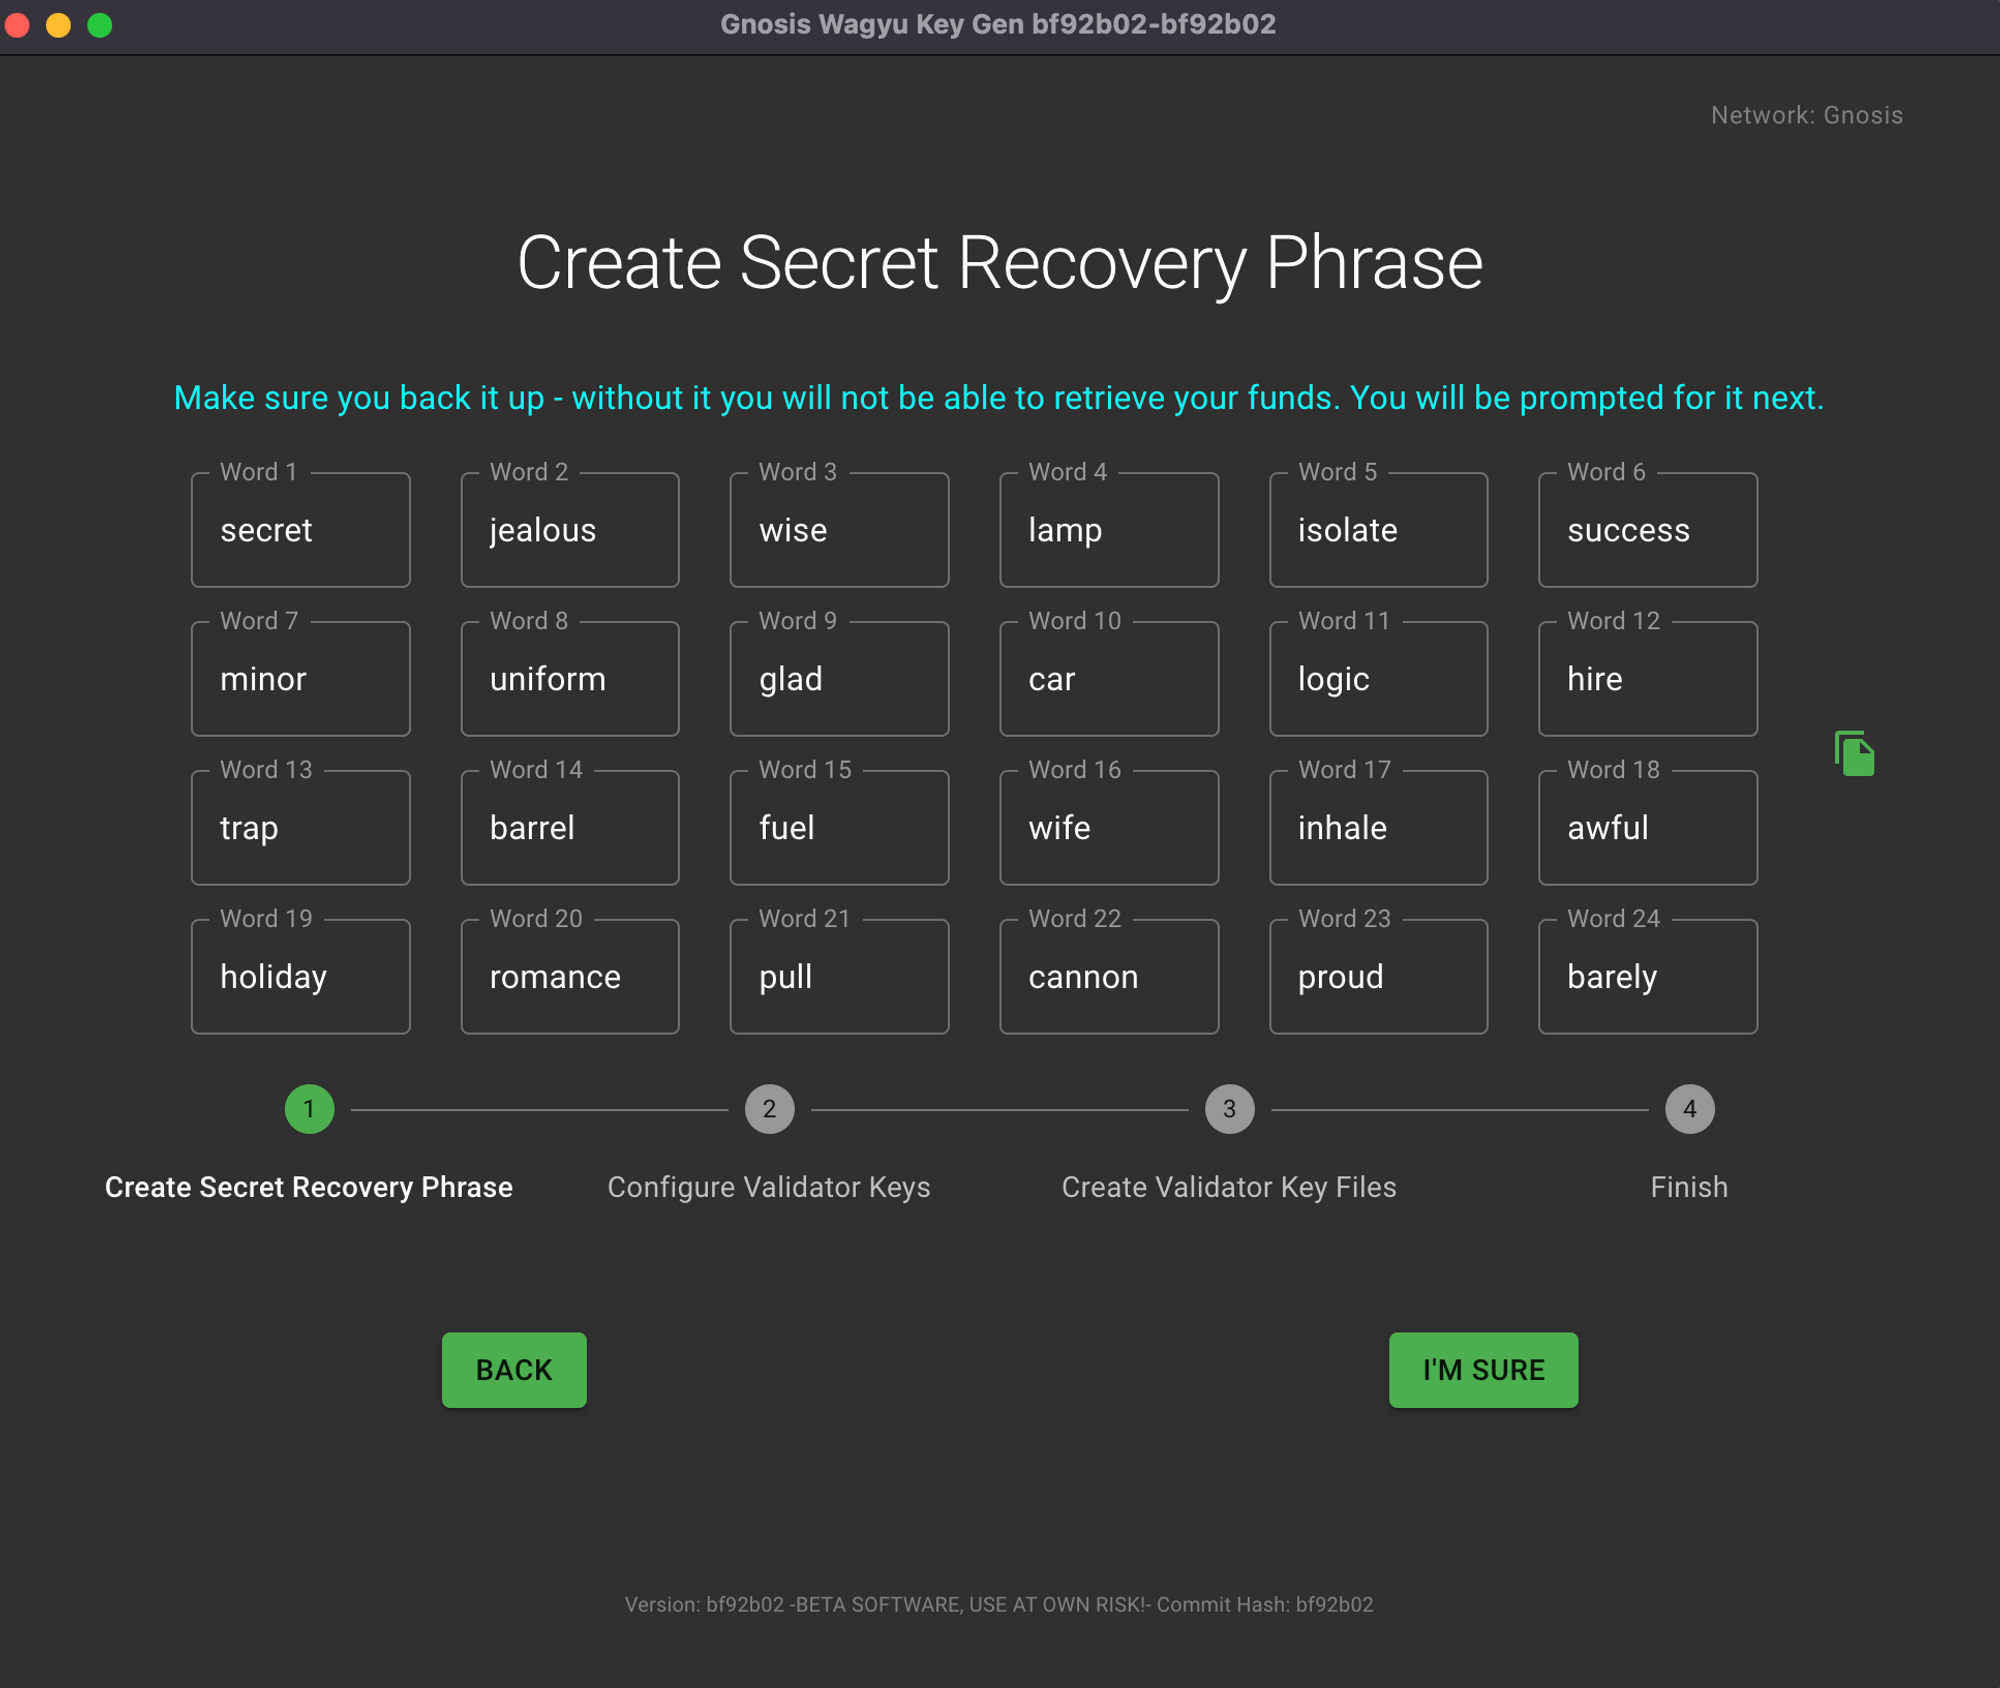
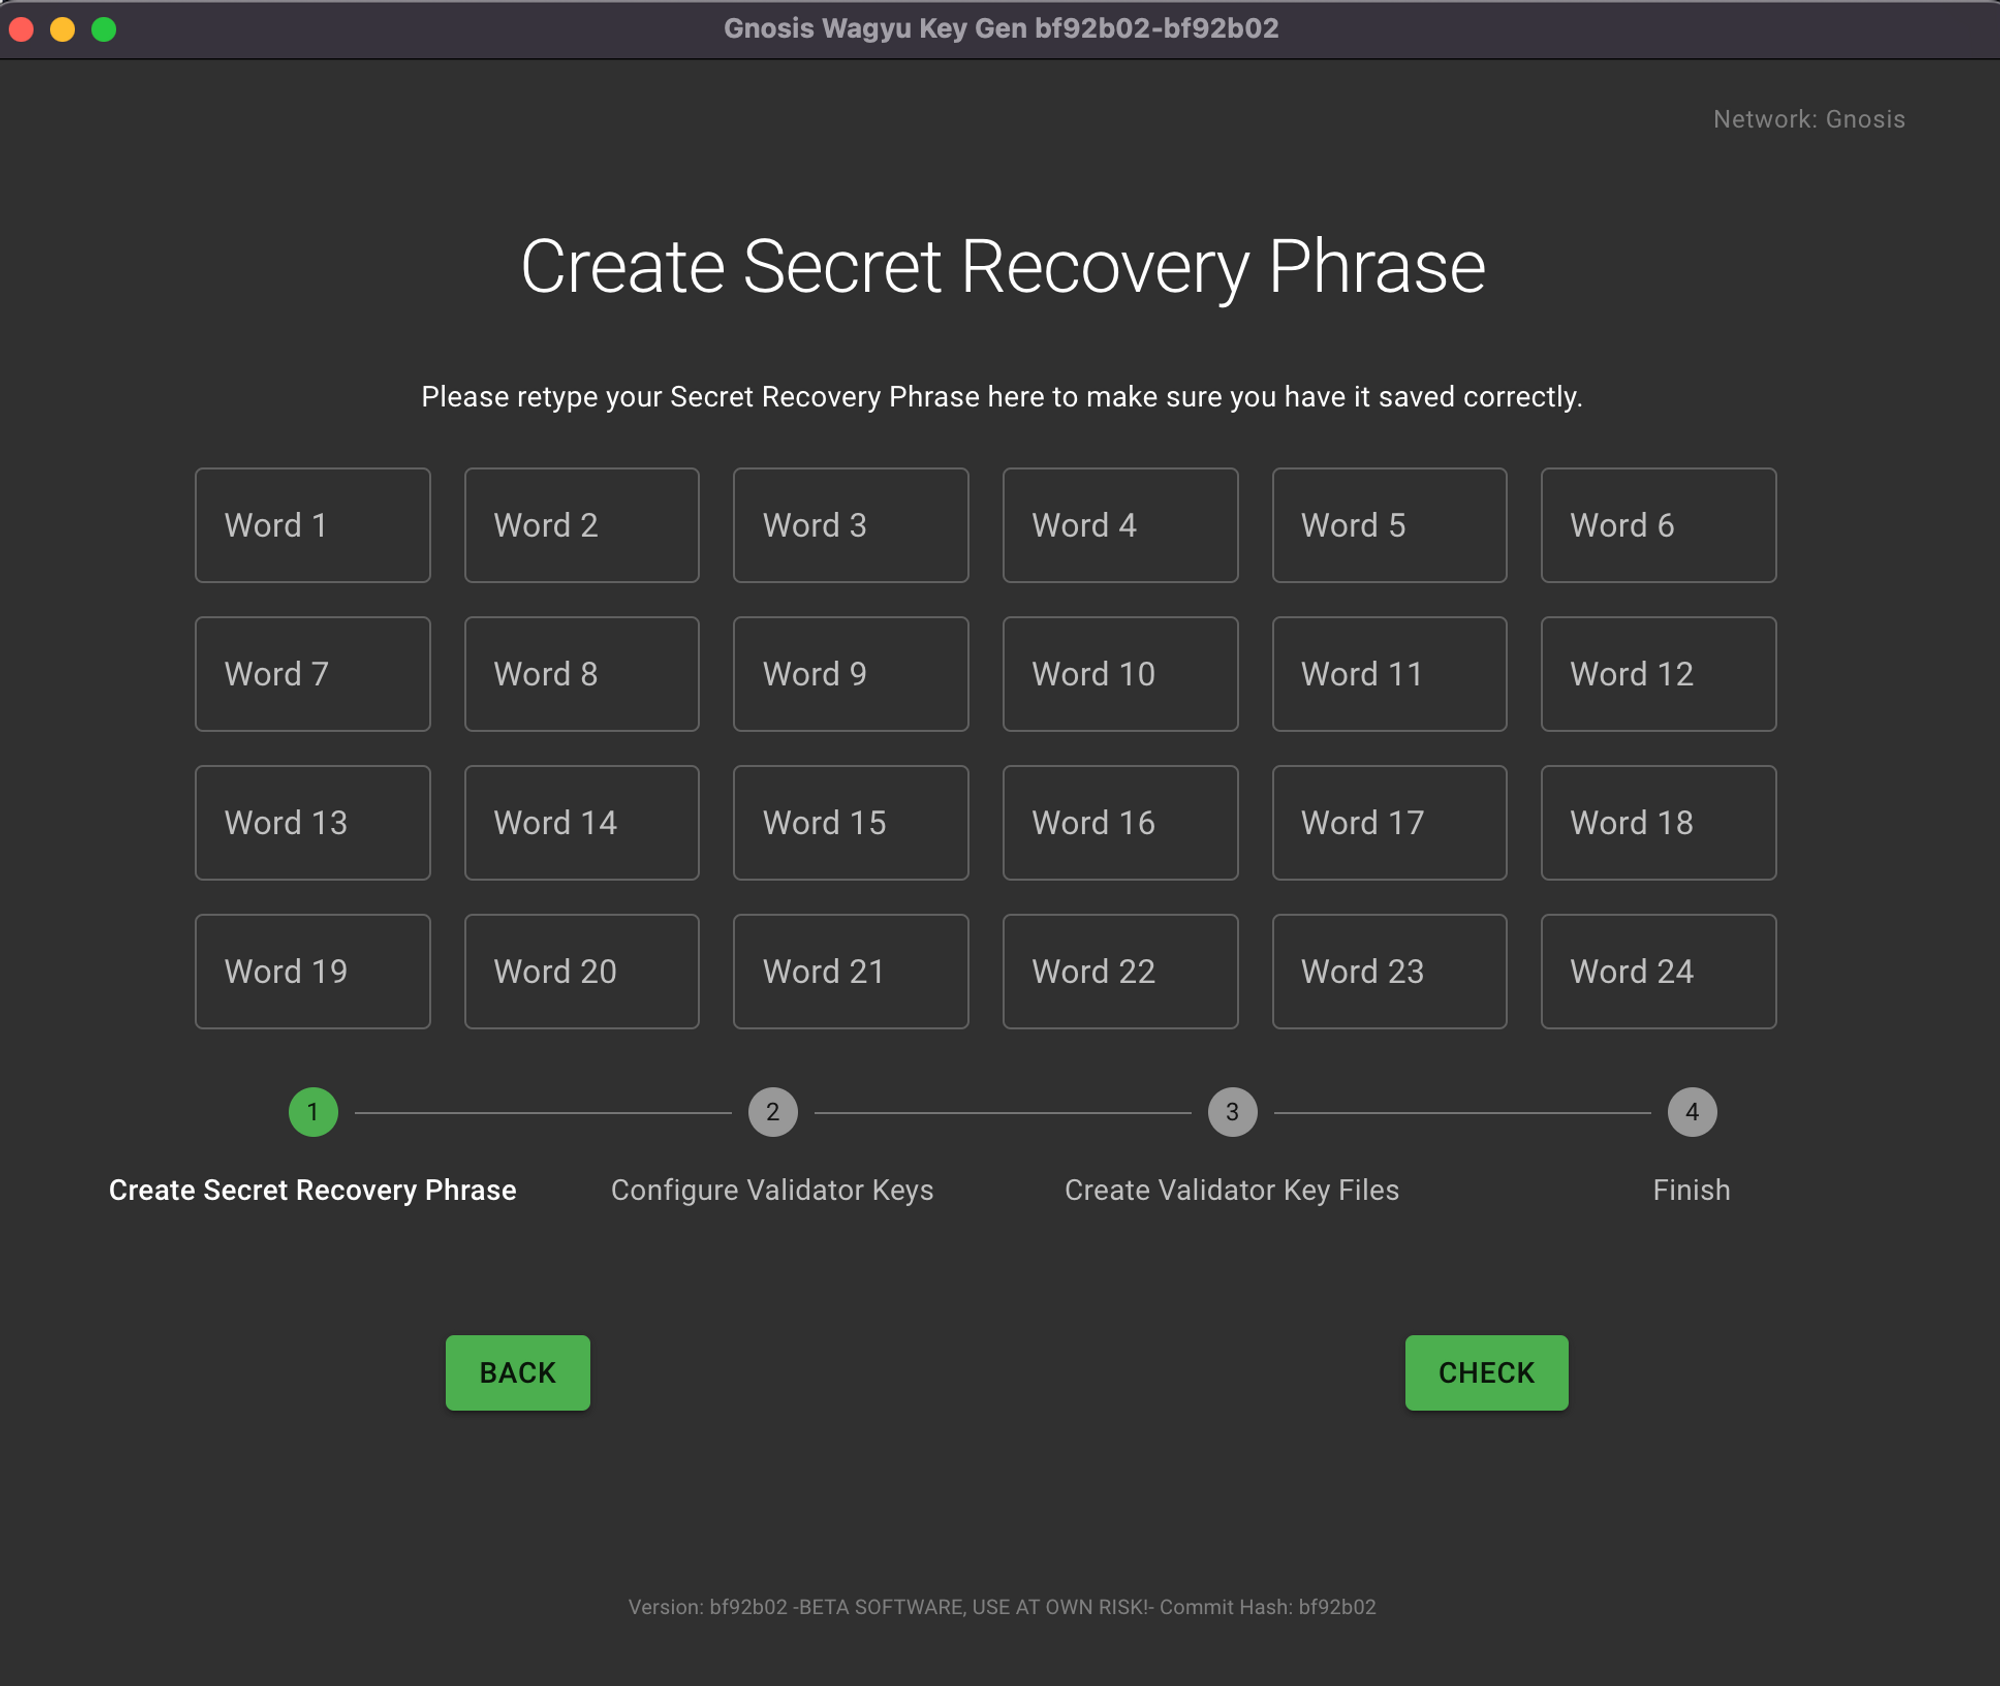
Fill this with the mnemonic you just created to confirm.

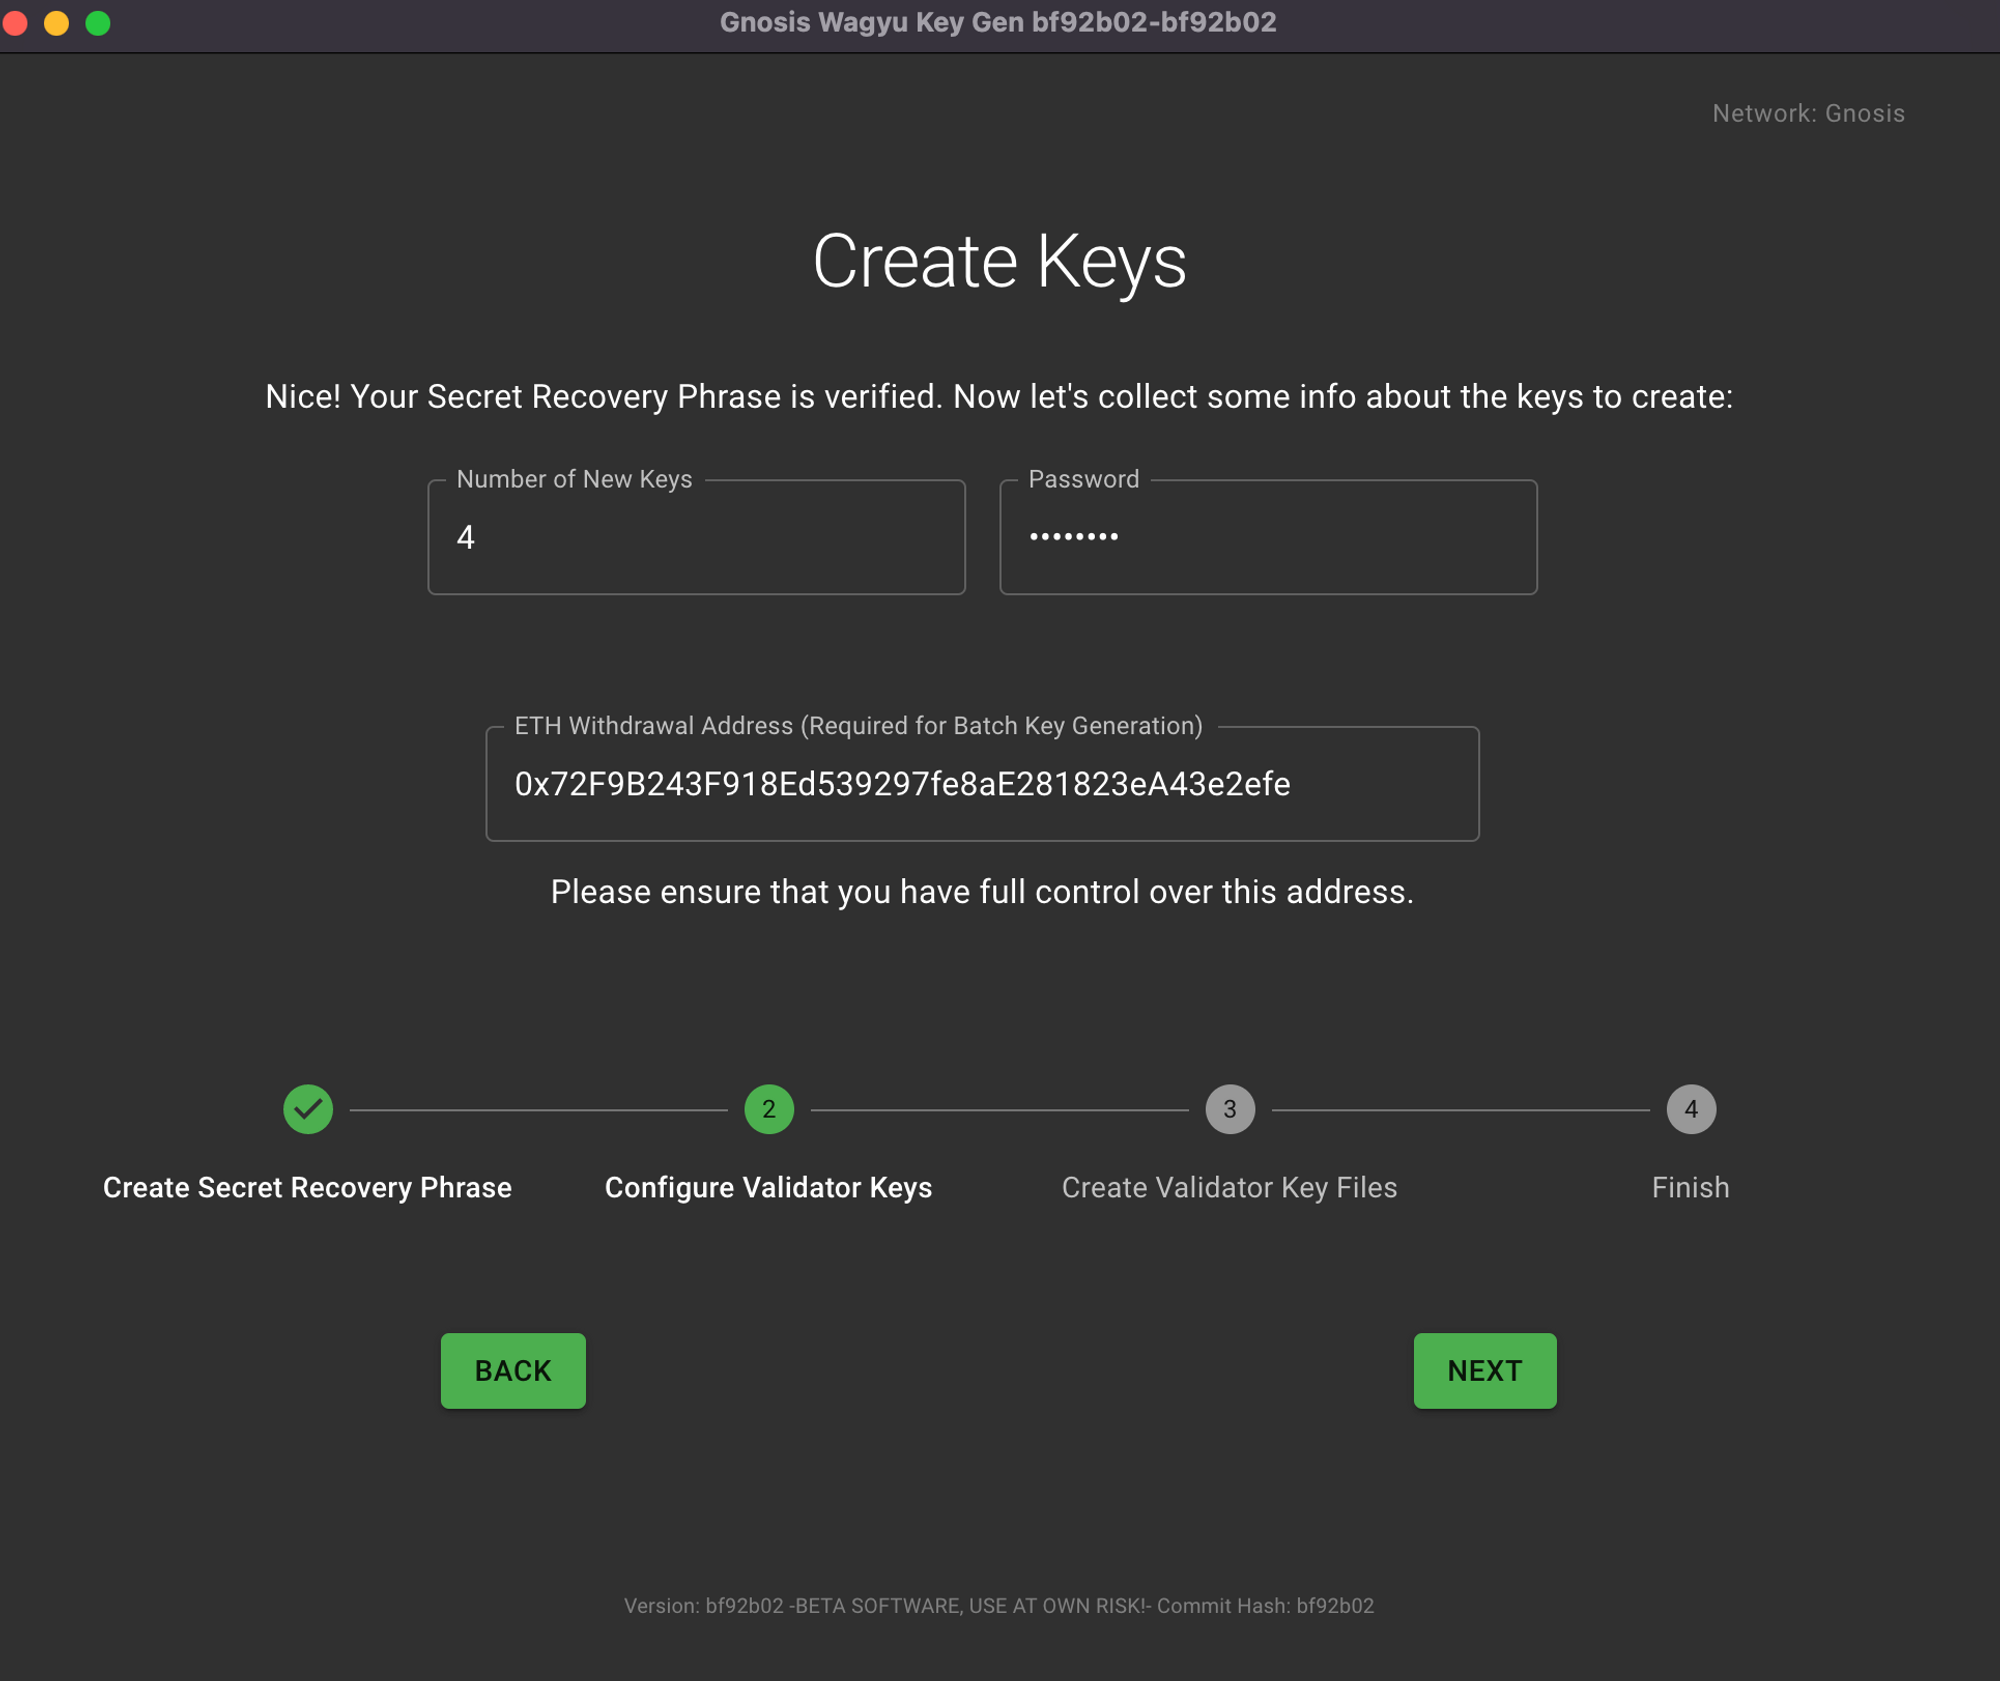
Please note that once you have chosen a withdrawal address (either at this step or later), it will not be possible to update it to another address. Therefore, make sure to choose an address that you control and that is secure. :::
If you are running this program to generate keys within the context of the DAppNode Gnosis Chain Hardware Validator Incentive Program, make sure to generate 4 validators and to fill in the ETH1 Withdrawal Address Field with an address you have full control over. Also make sure to choose a directory that reflects the folder where you want the files to be saved.
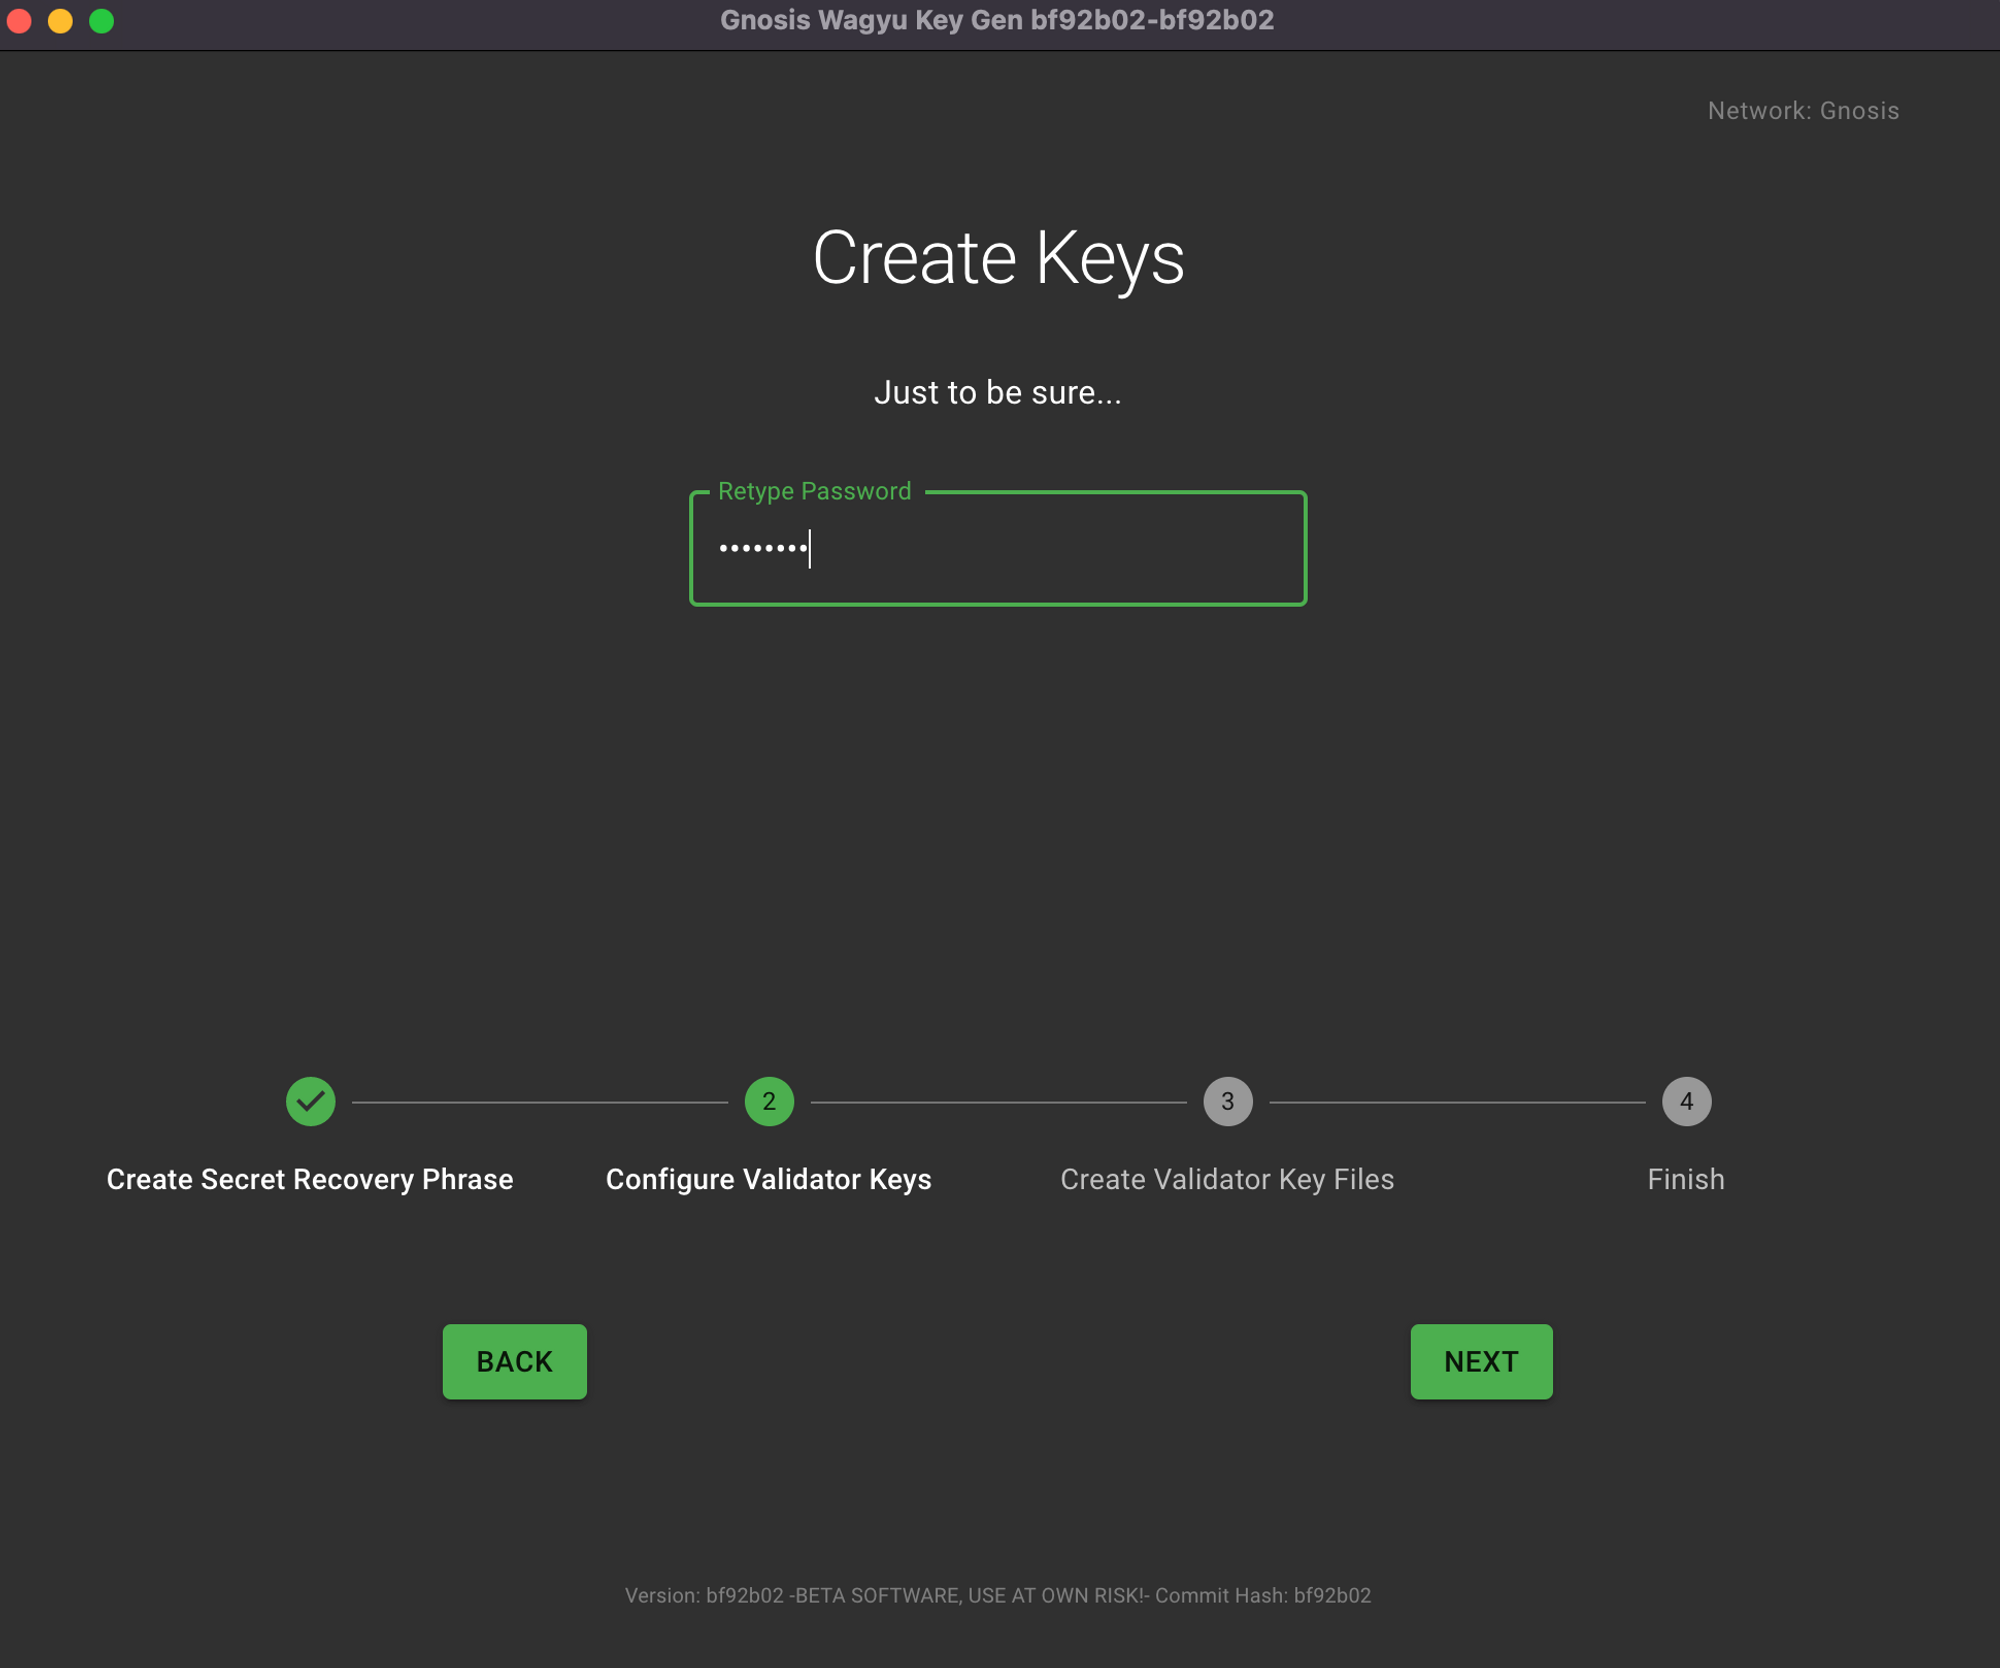
Confirm your keystore password.
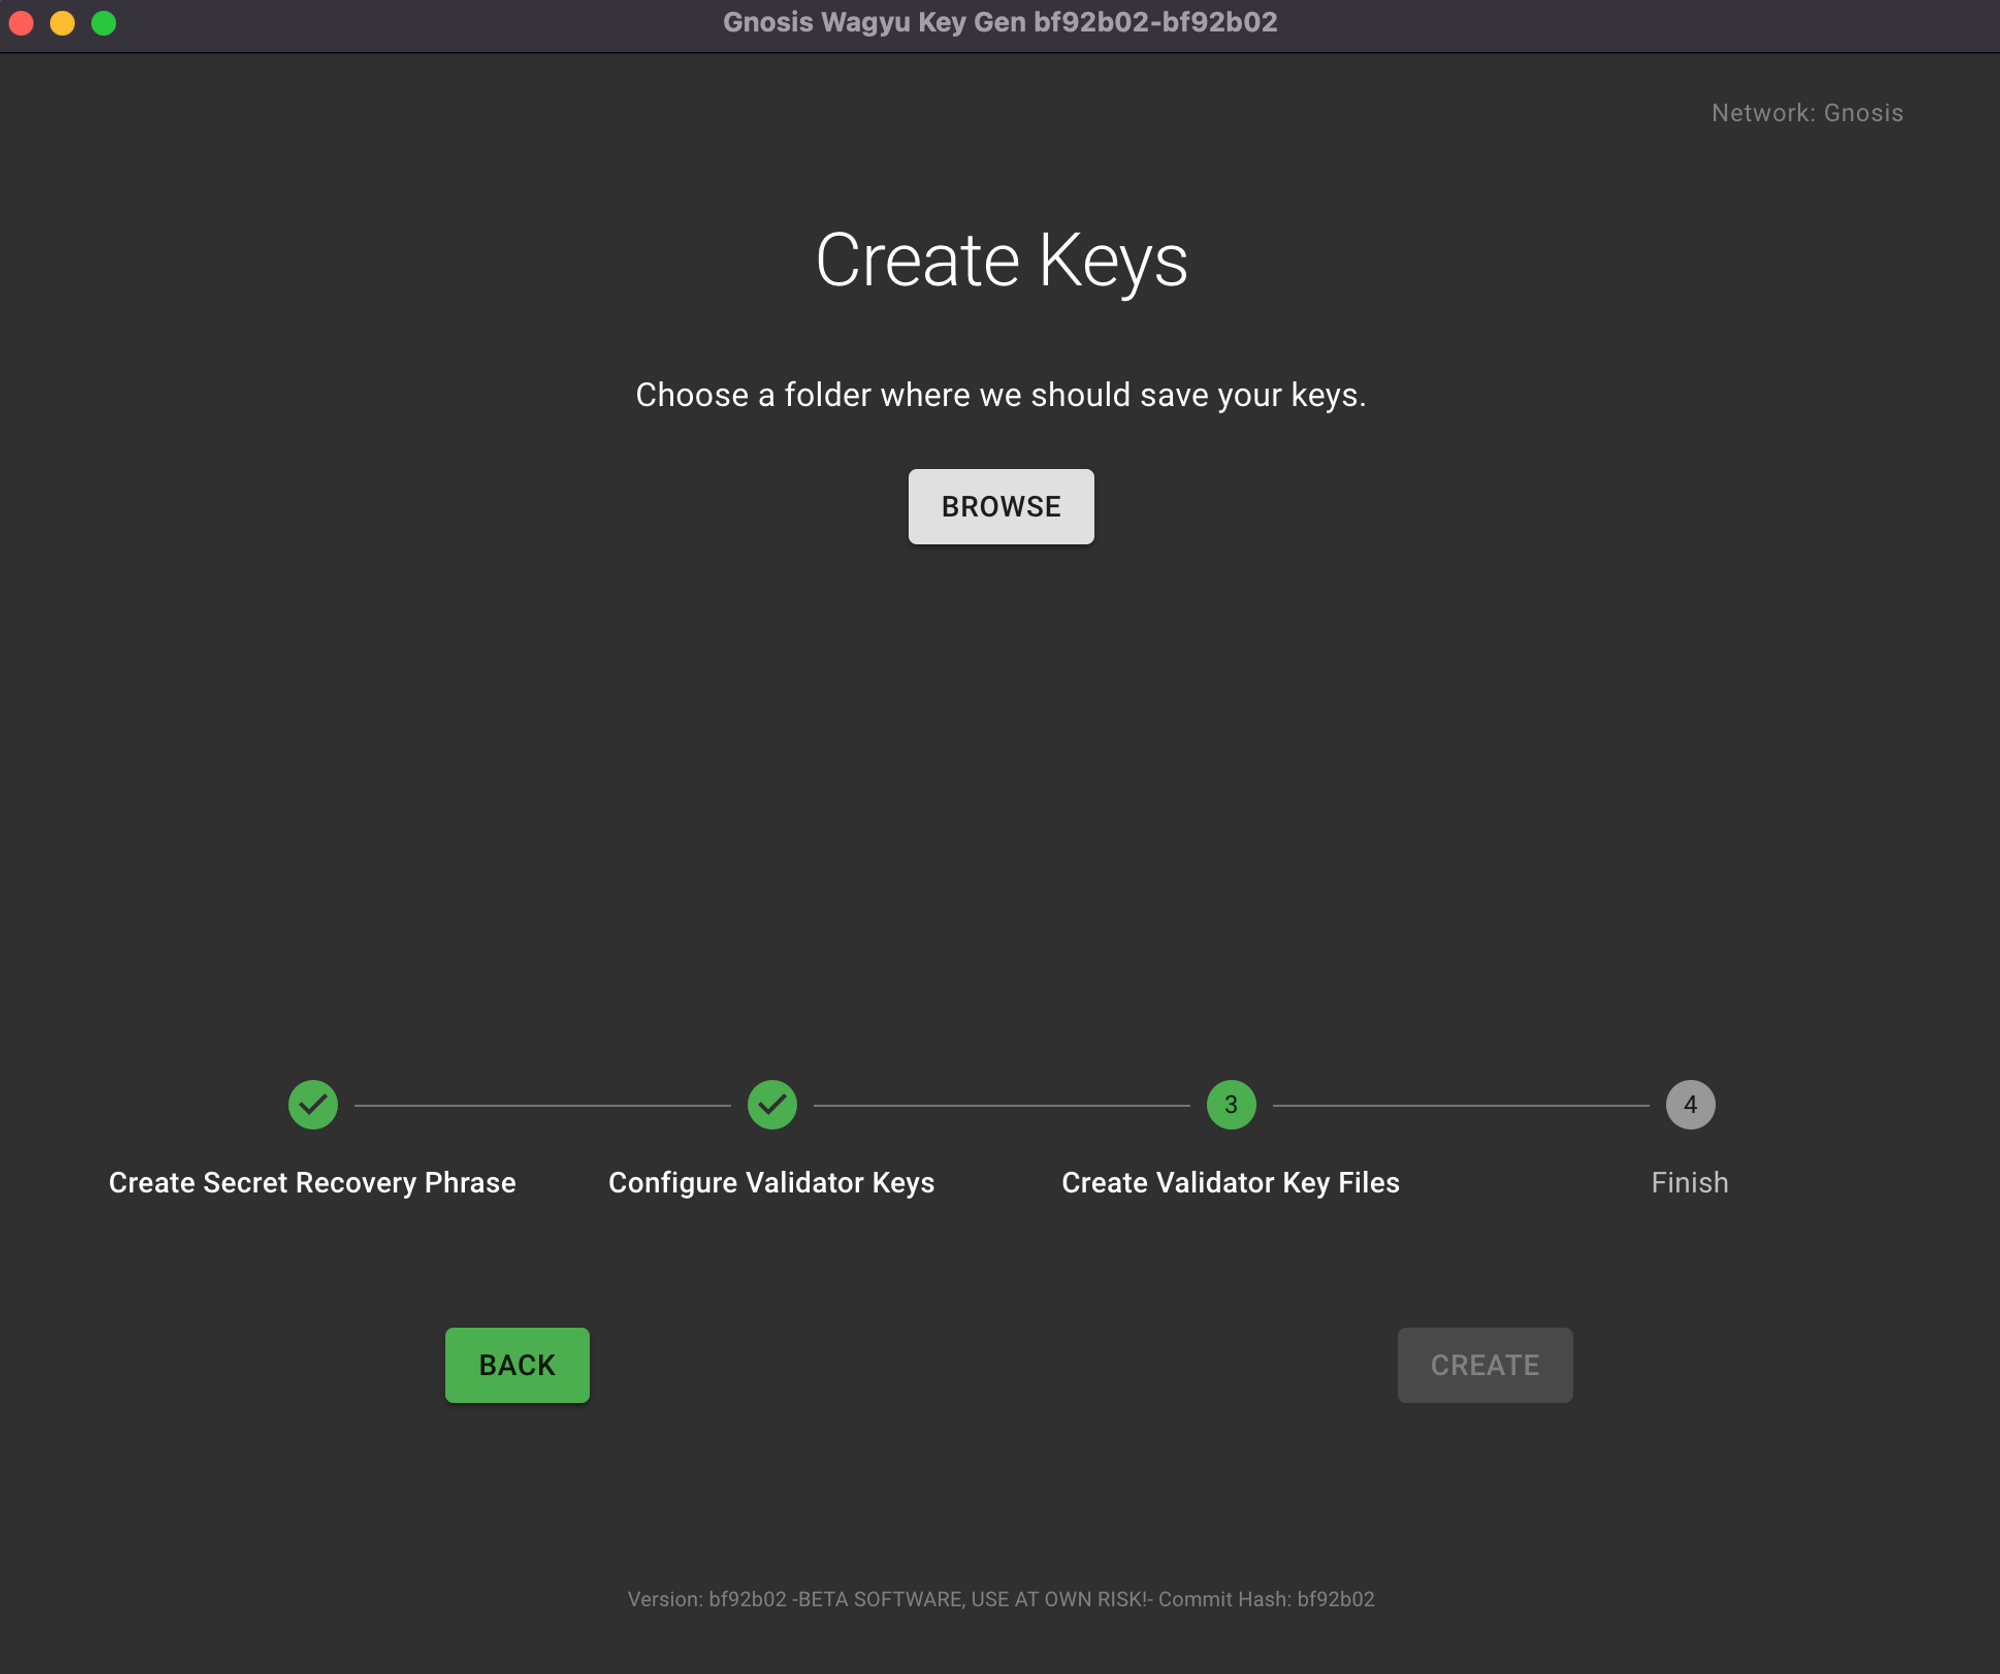
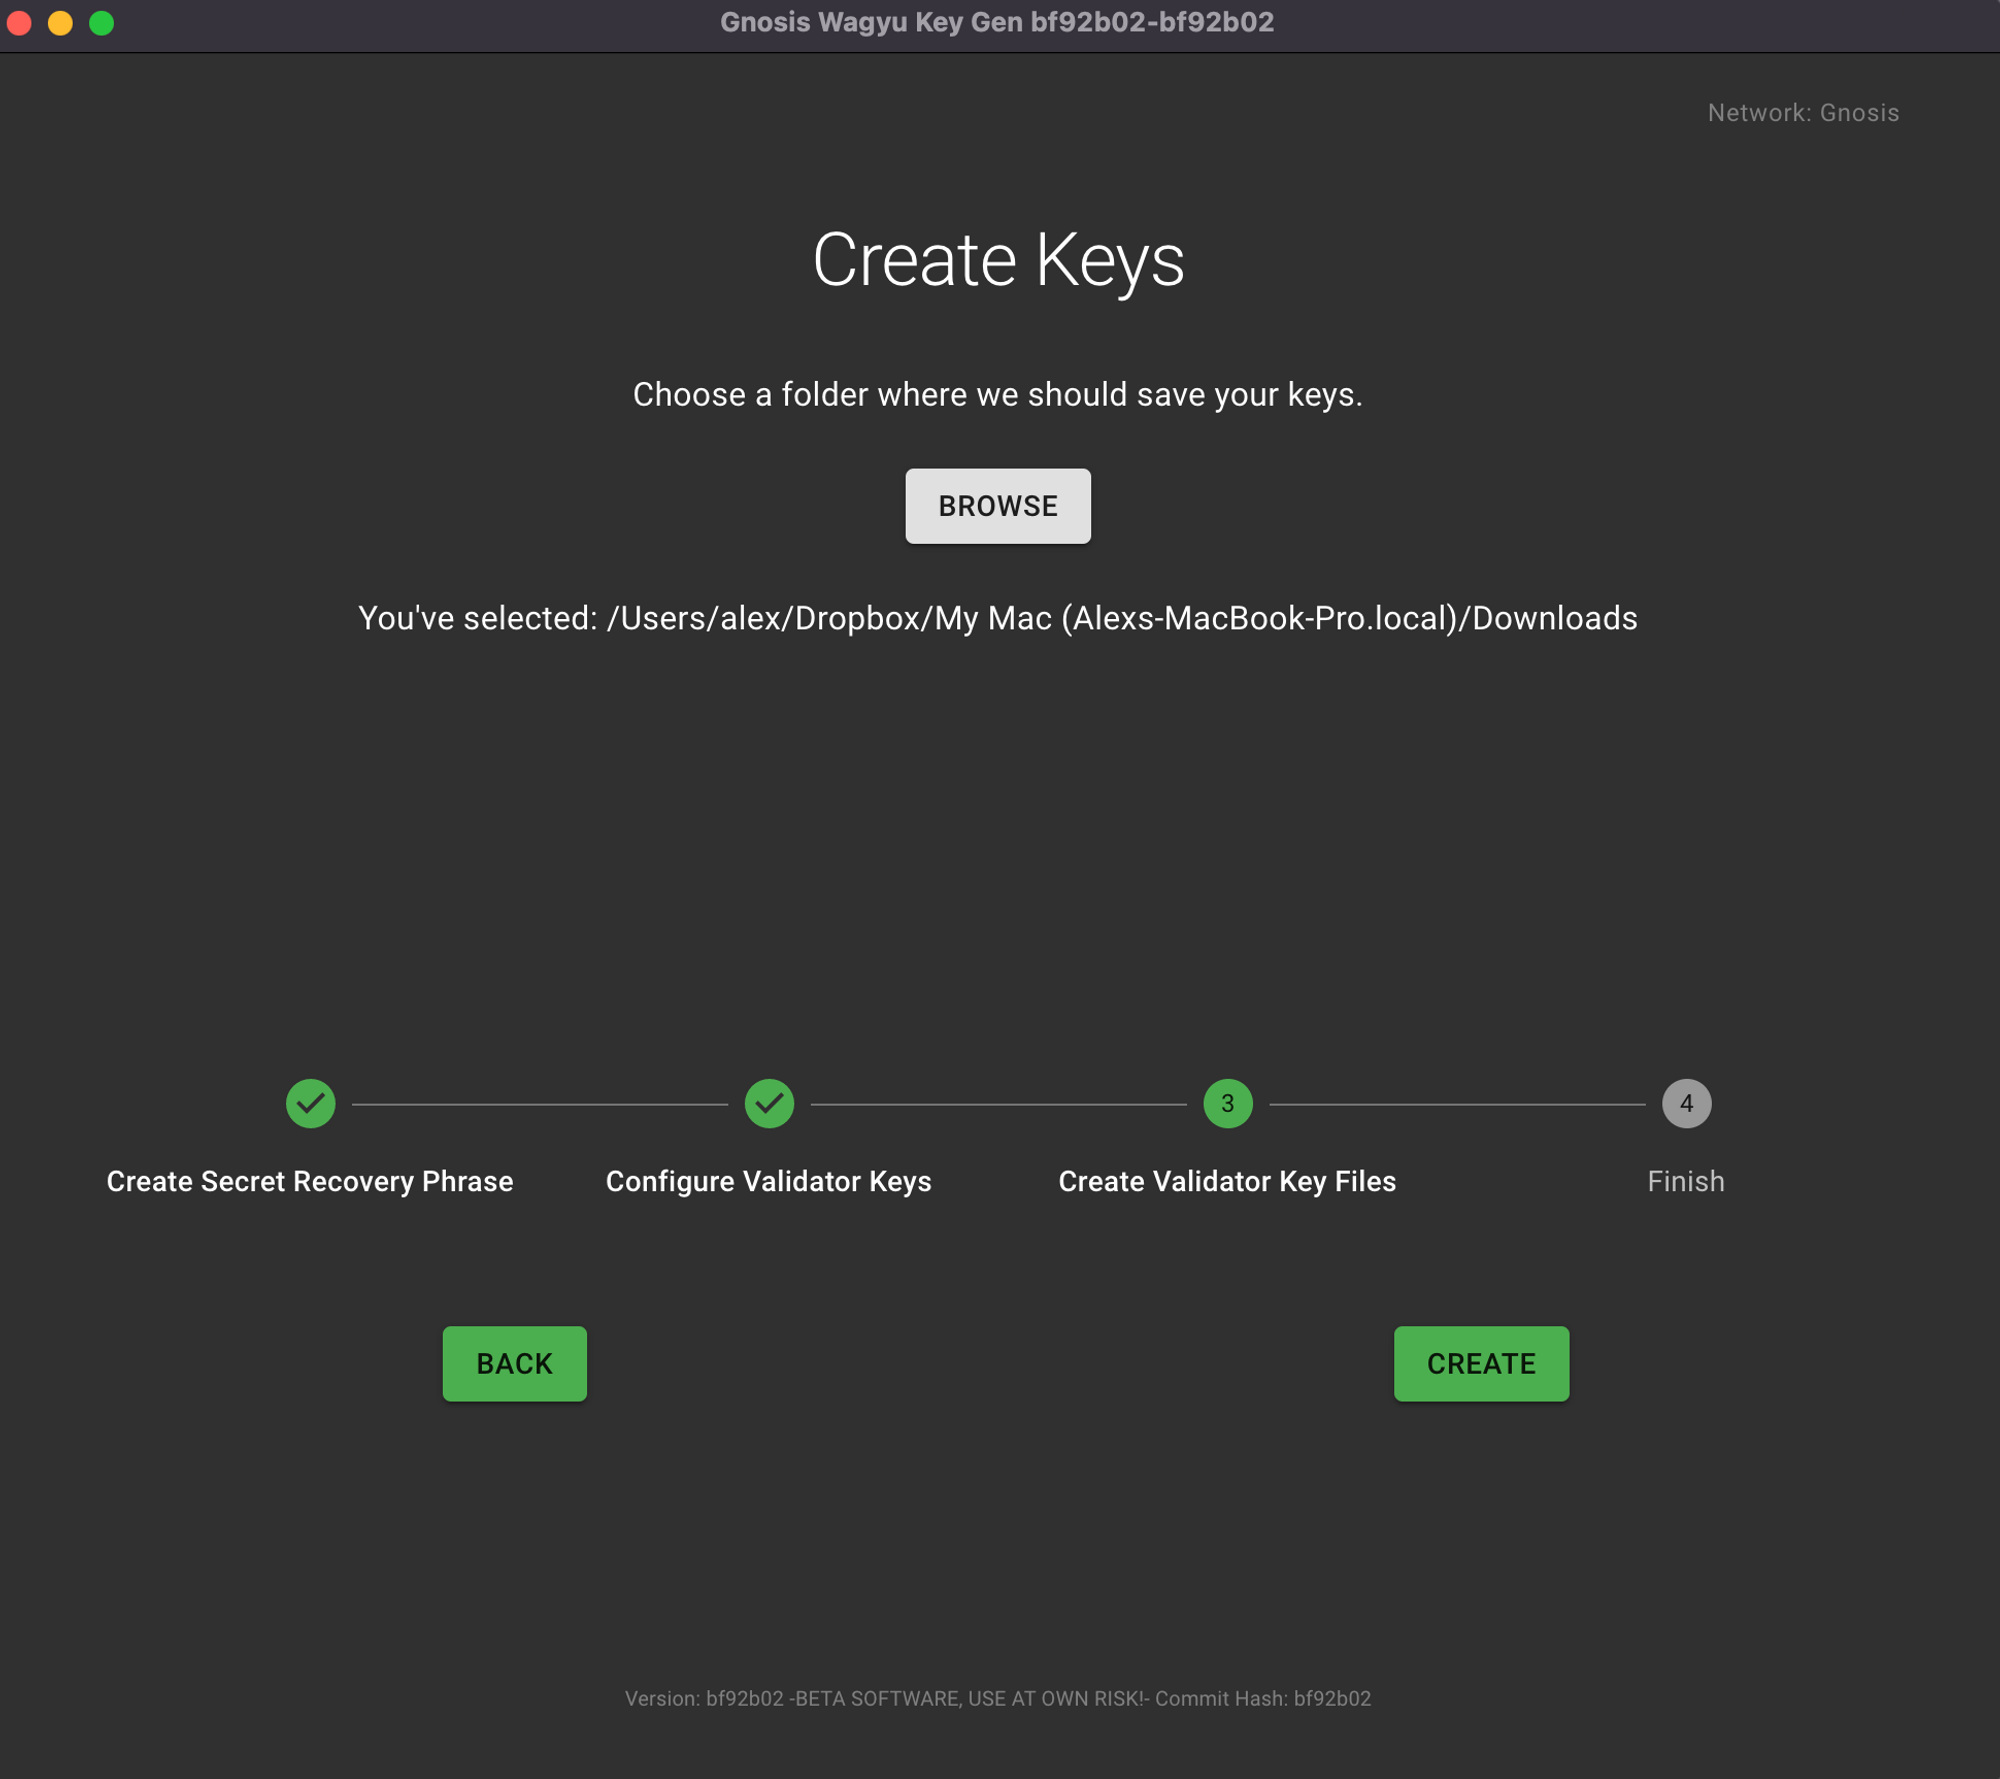
Select the folder where your keys should be saved.
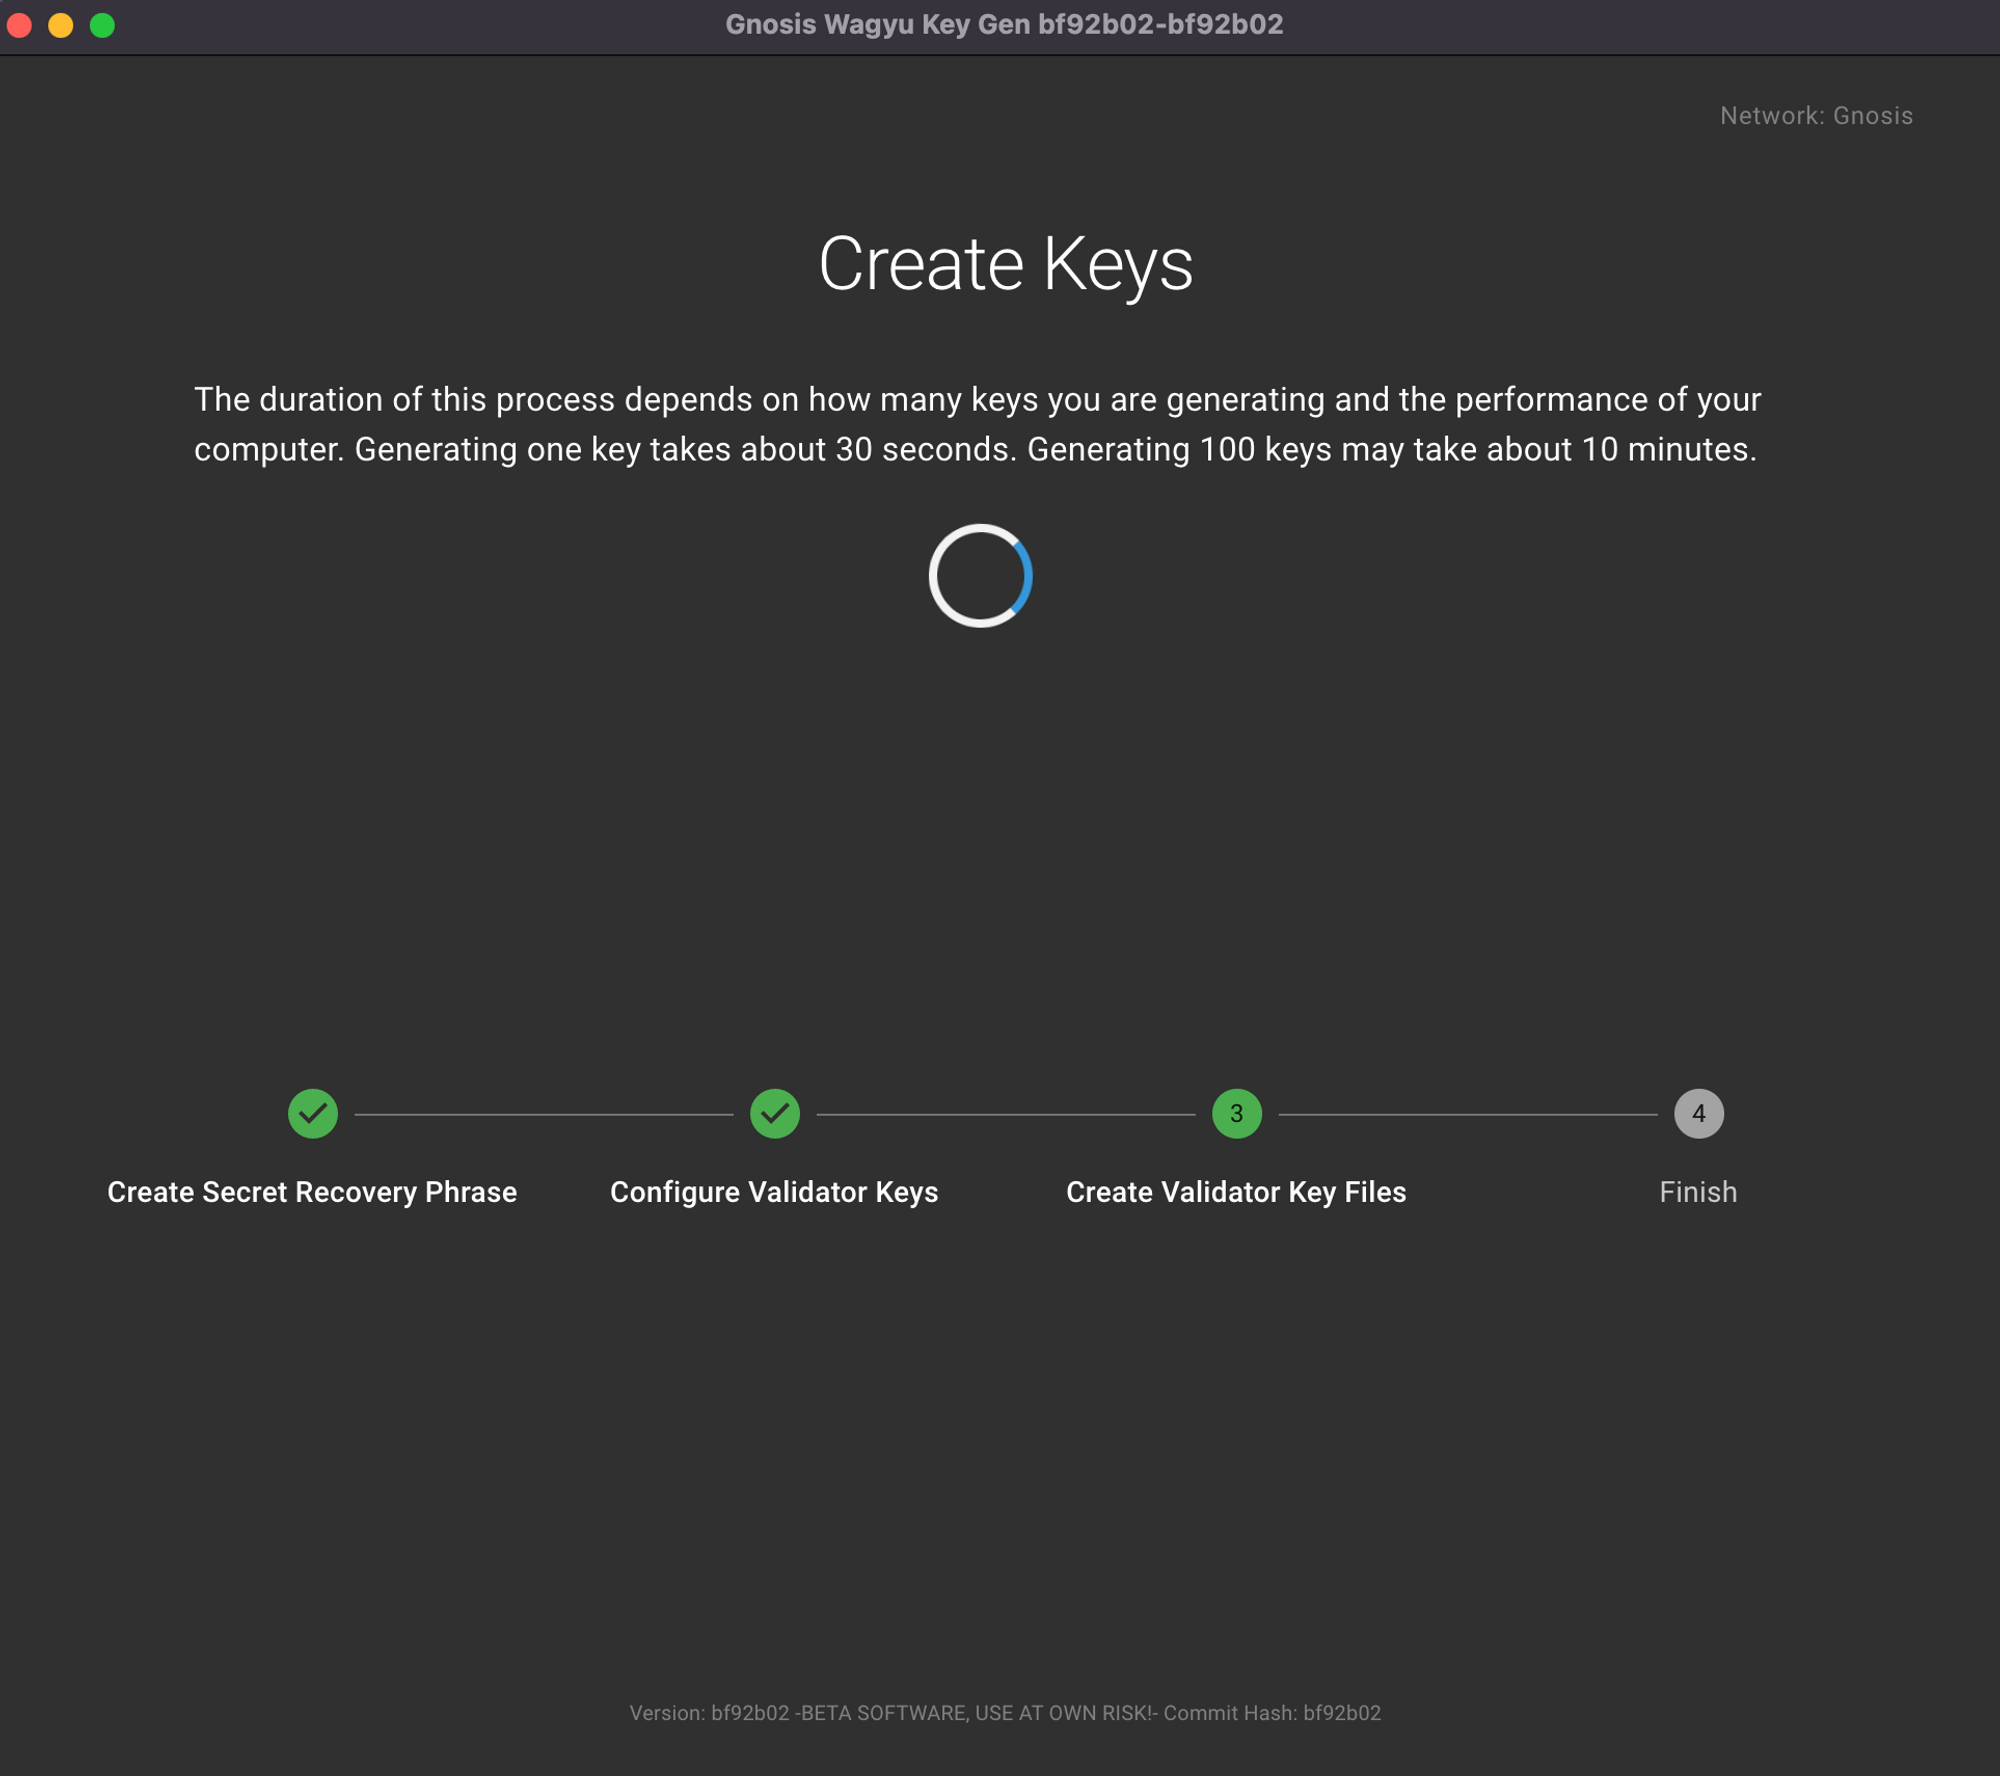
Confirm that your keys have been generated.
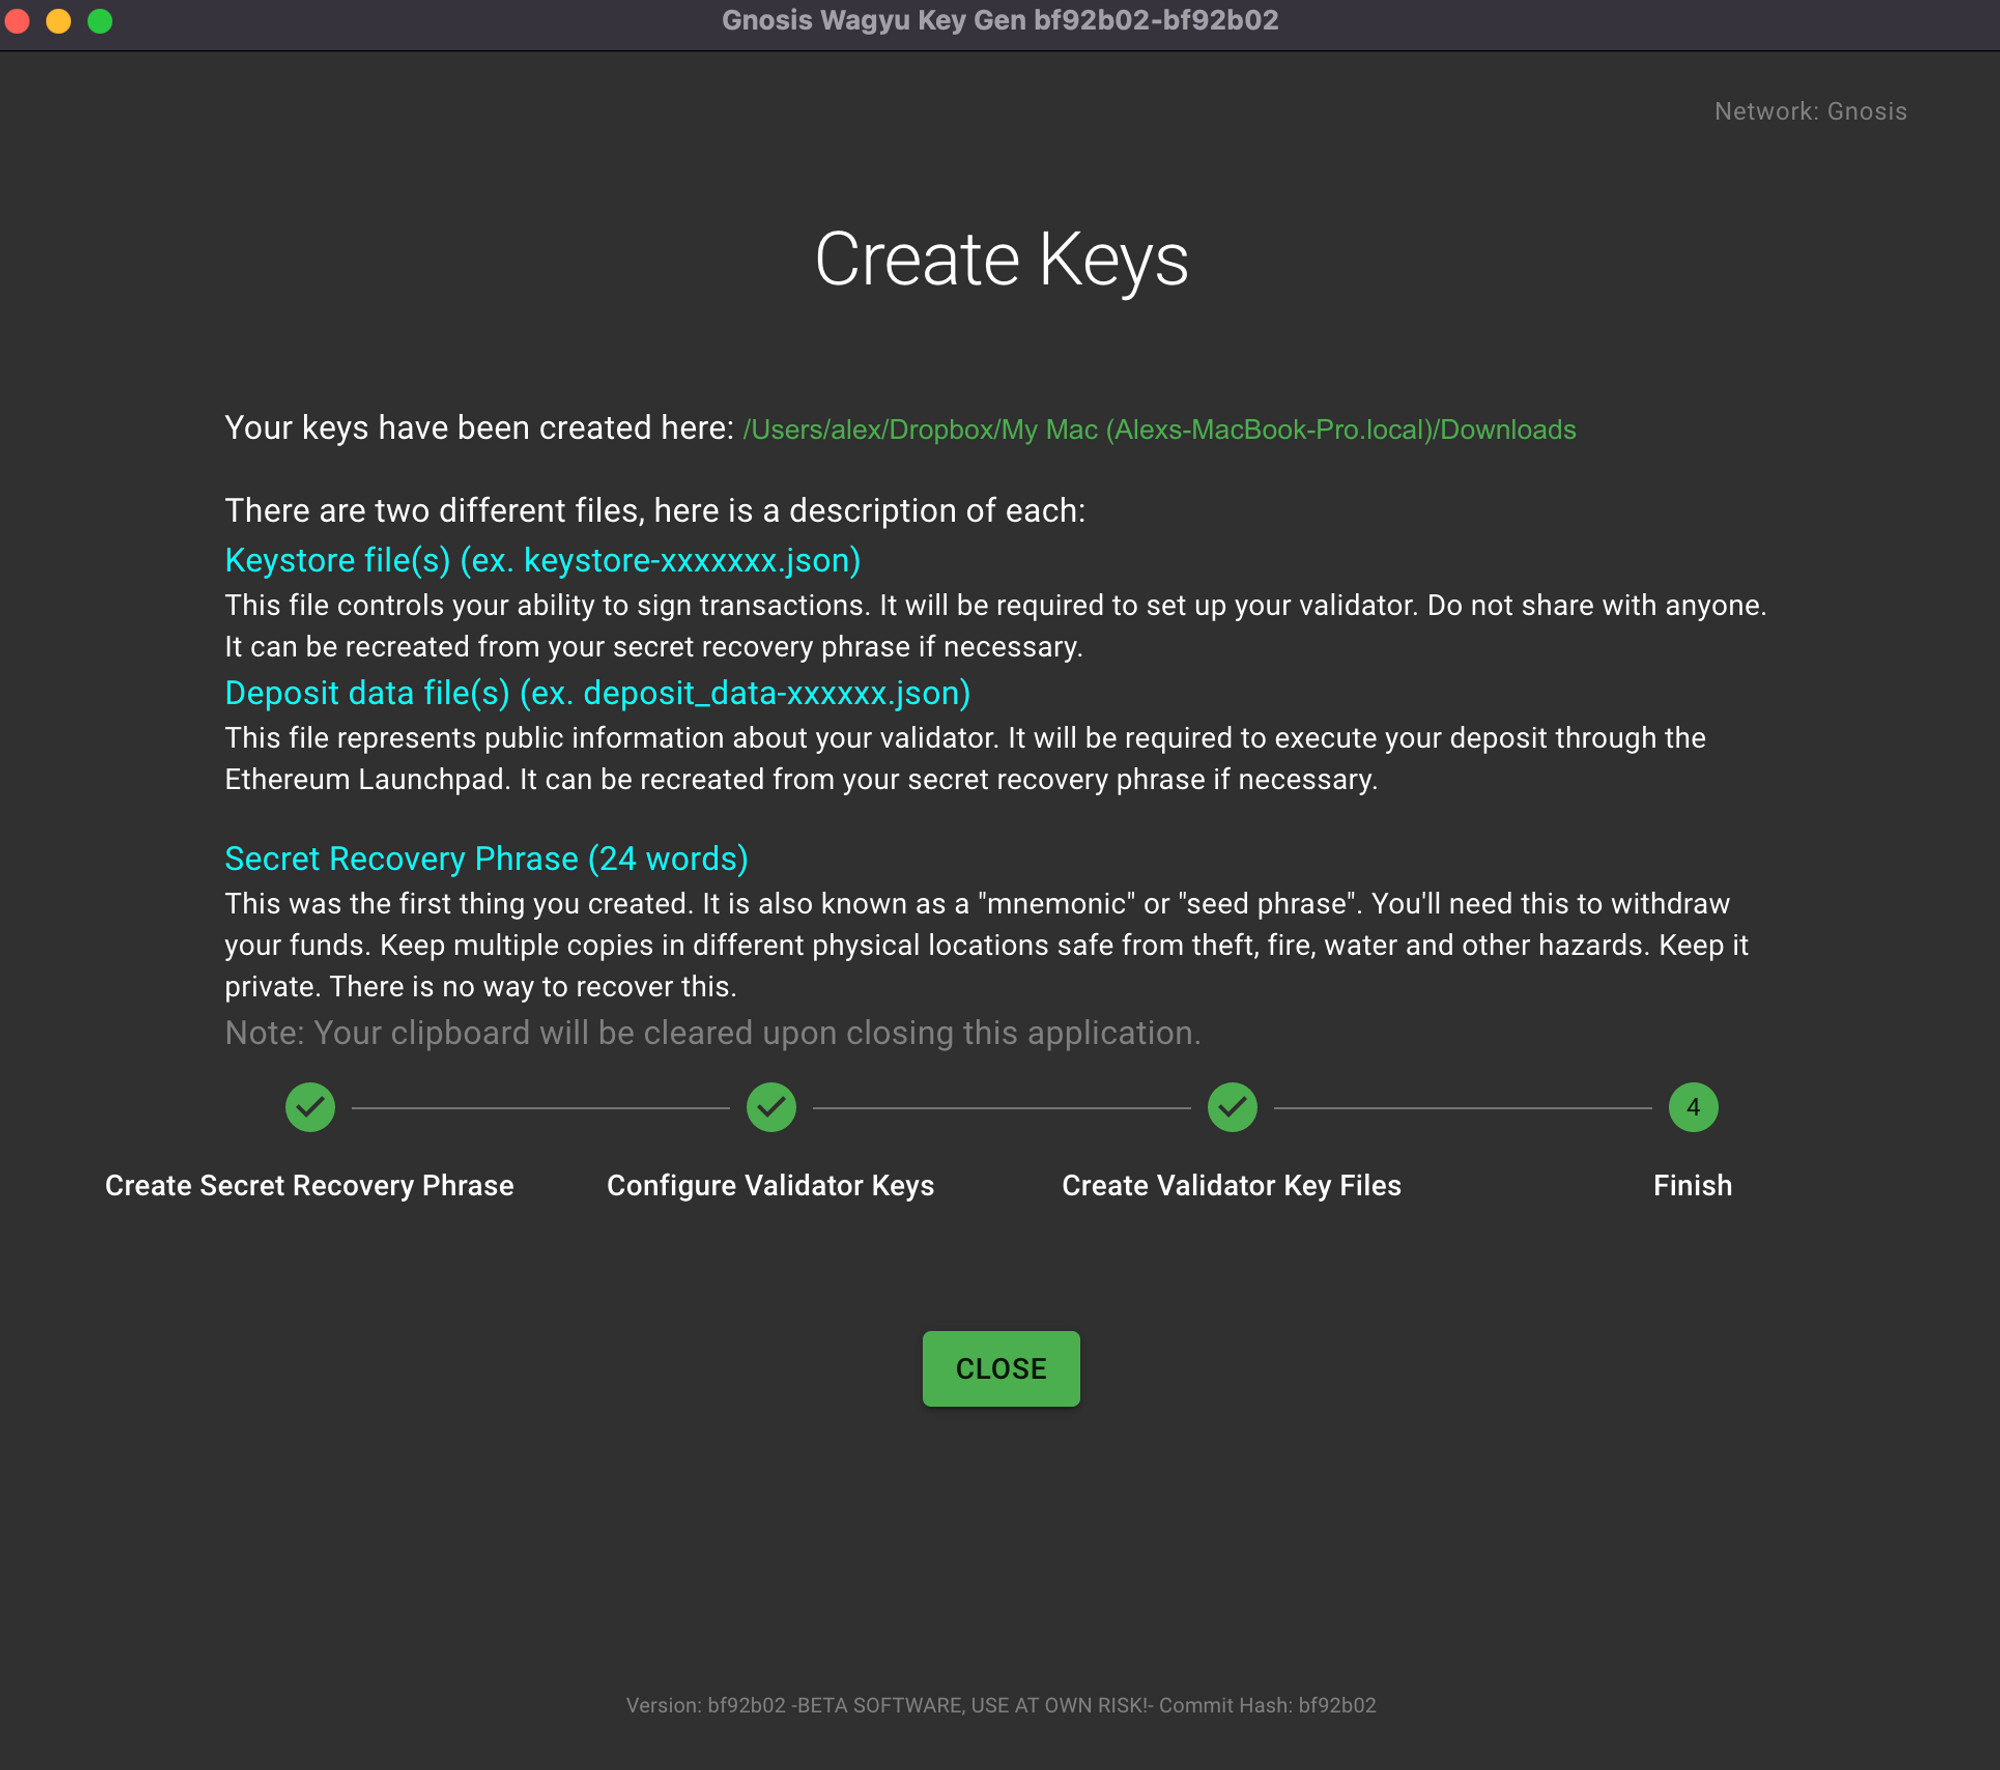
The key generation is complete, and your keys have been saved to the folder you selected.
Step 3: Upload Keystores to Web3Signer
Now that you’ve generated your deposit data and keystores, go ahead and upload your keystores to Web3Signer Gnosis.
Return to your DAppNode’s Admin UI and navigate to the info page of the Web3Signer Gnosis package.
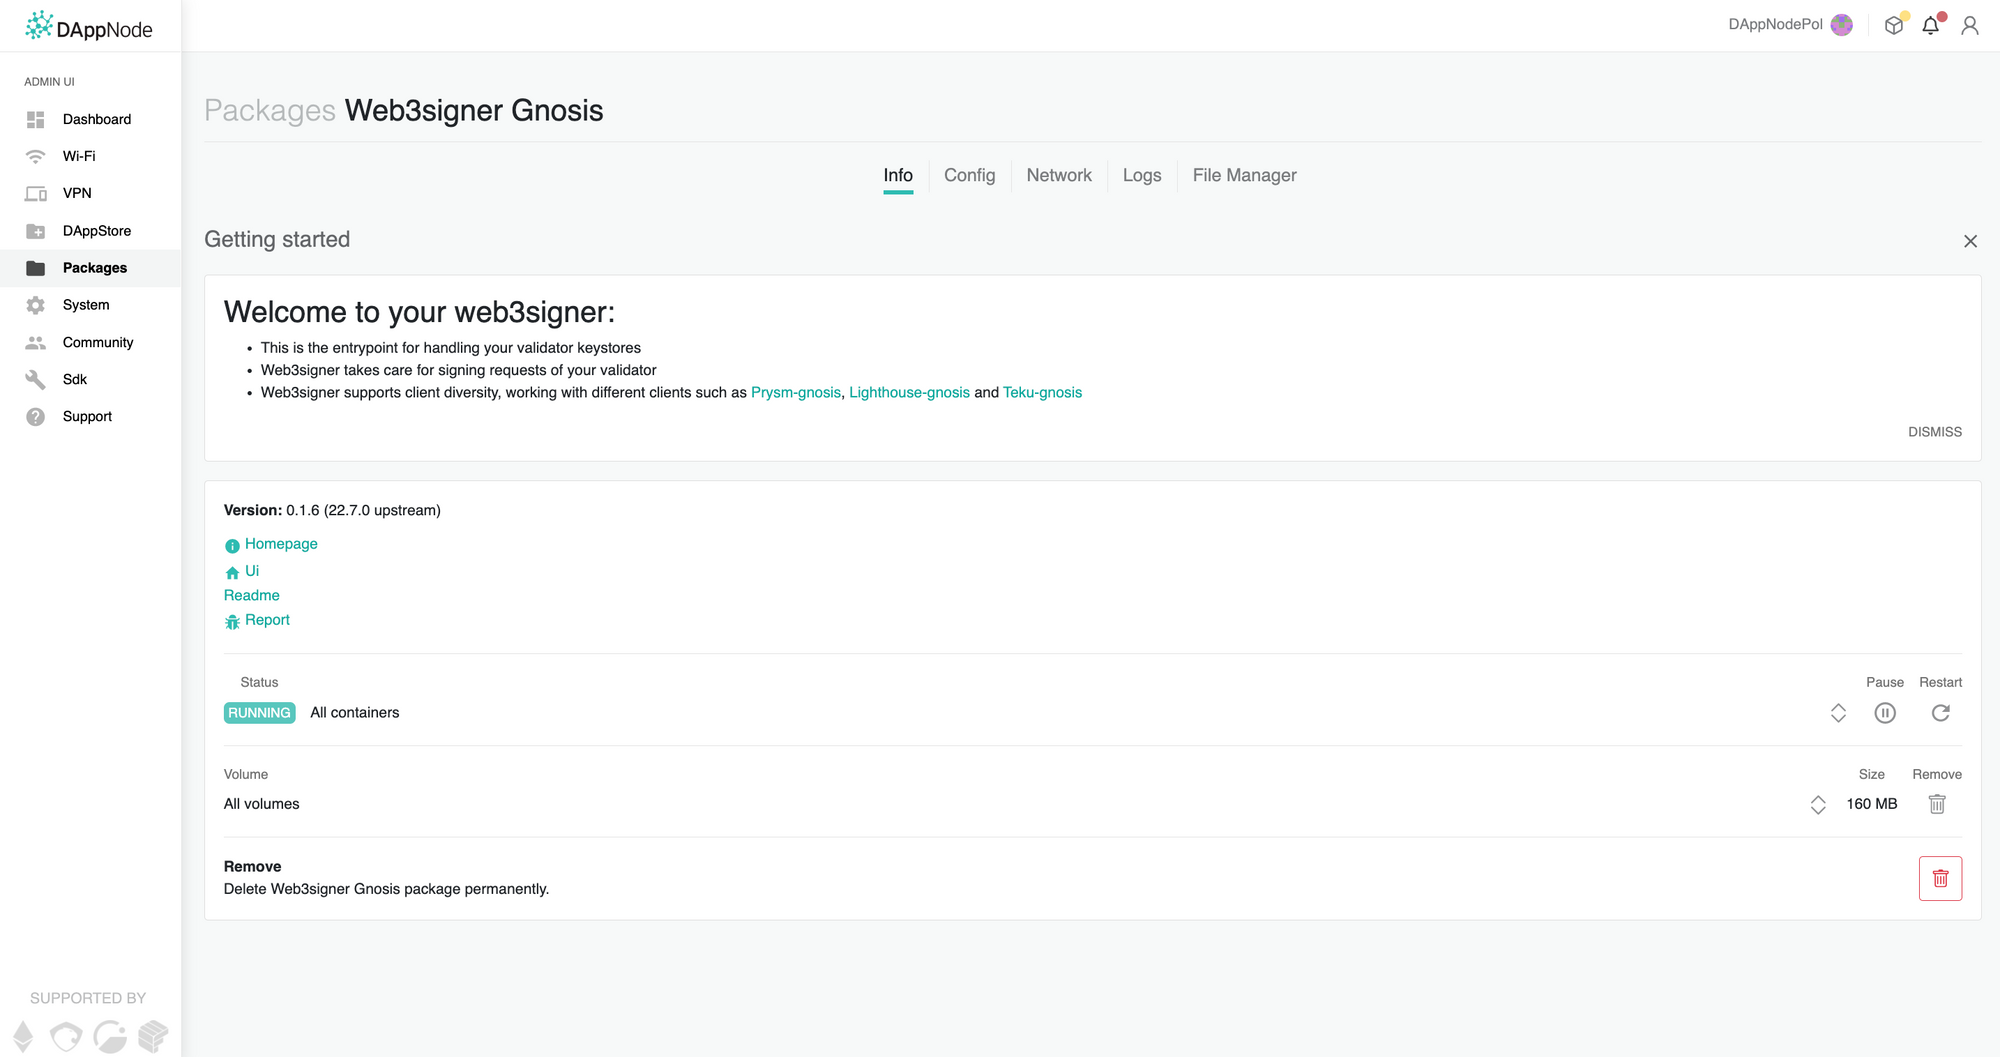
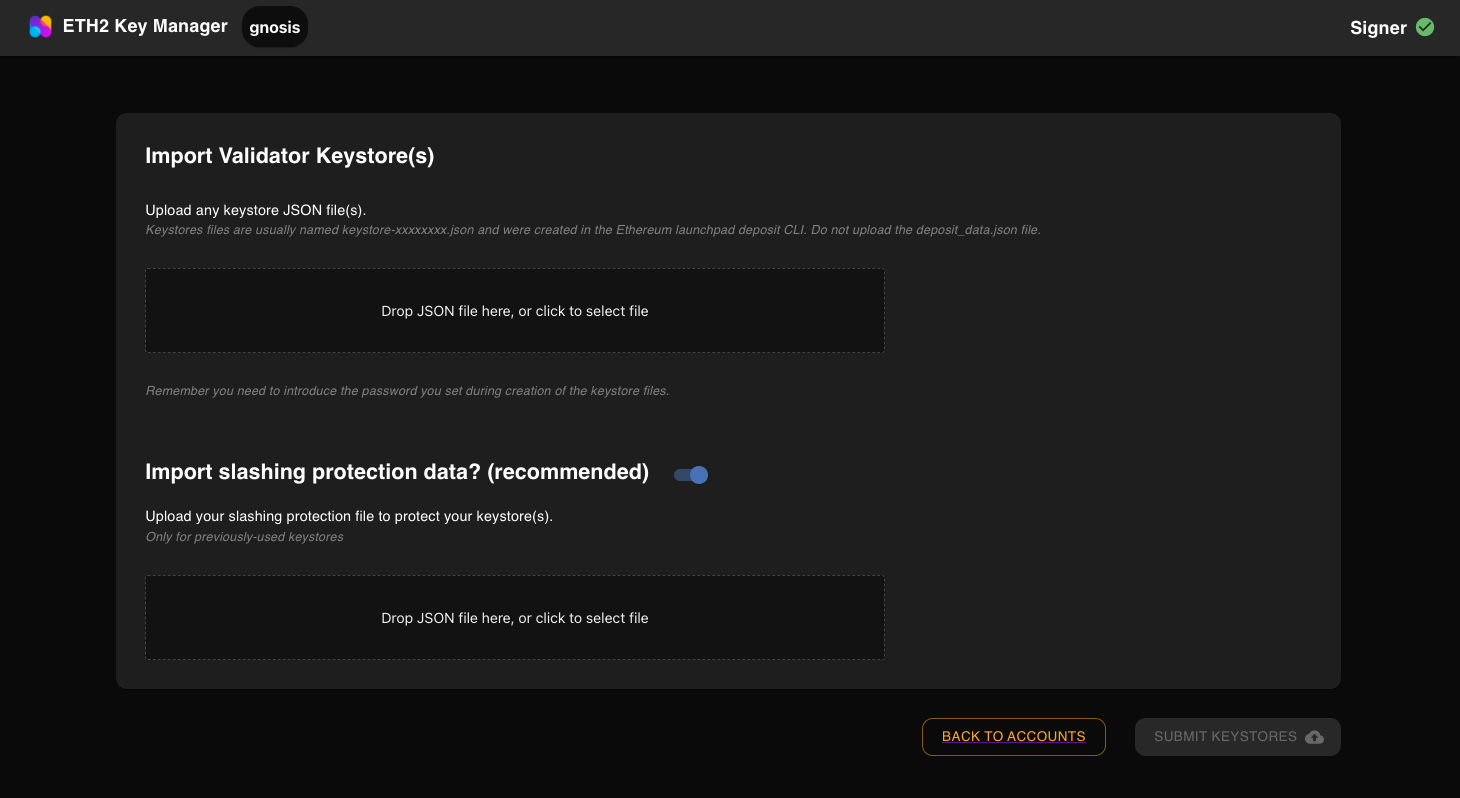
Open the UI by clicking the 🏠Ui link, then click the Import Keystores button on the lower part of the Web3Signer UI.
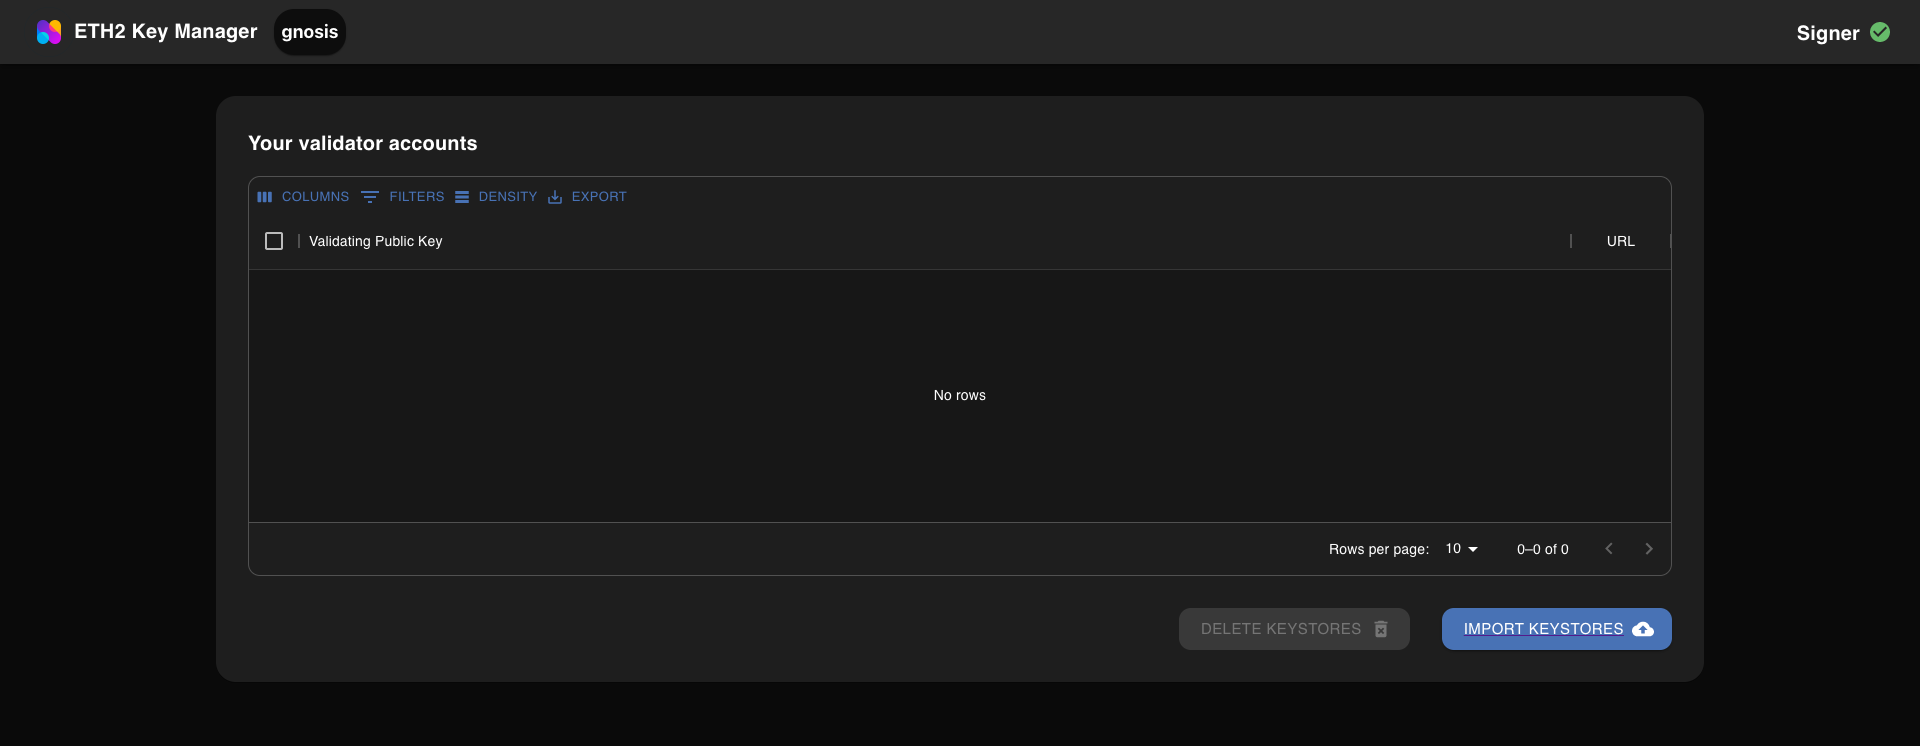
Select the keystore file(s) you generated the password you chose during the last step.
You will be able to see all the keystores you’ve uploaded.
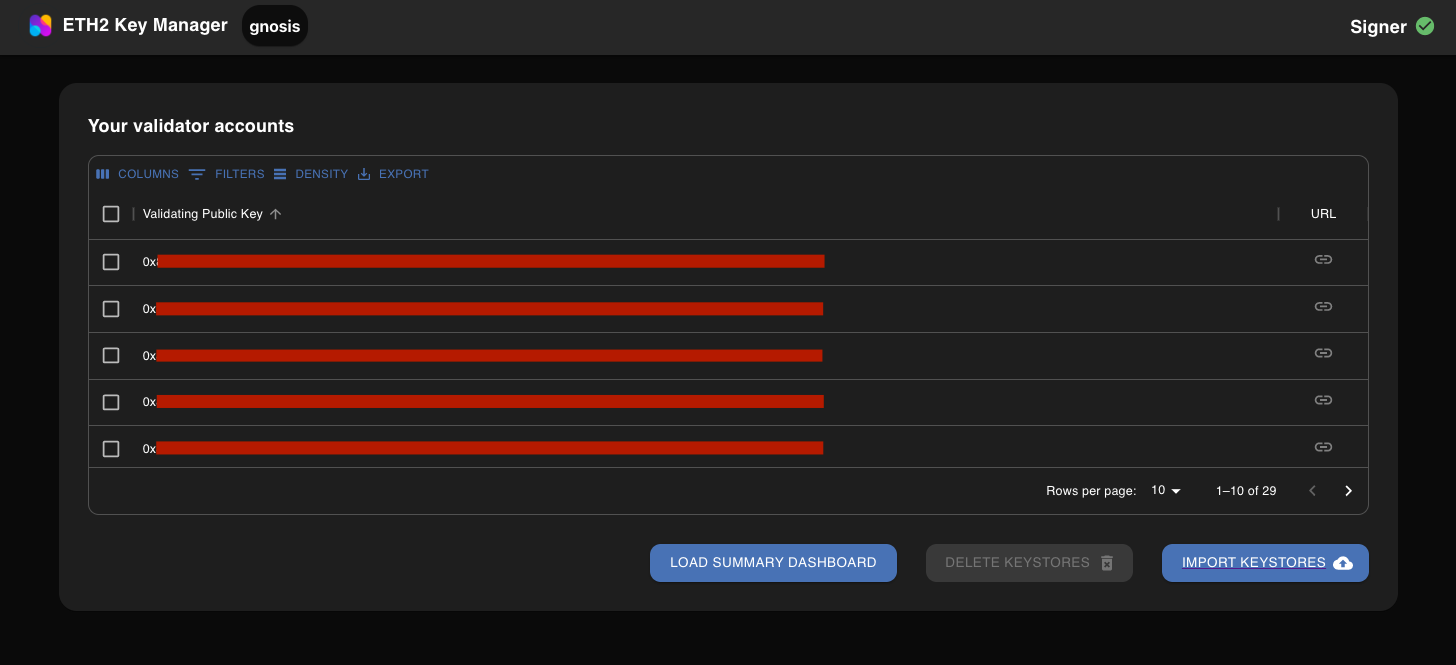
You are now ready to fund these validators and start validating.
Step 4: Fund Your Validators
In case you need some xDai for transaction fees you can get some from the Official xDai faucet for Gnosis.
- Navigate to: https://deposit.gnosischain.com/
- Connect your wallet.
- Upload the
deposit_data*.jsonyou generated with the key generator tool in Step 3. - Your deposit file will be validated and list the number of validator deposits you are making and the required GNO to deposit. Click
Depositto continue. - Check that you understand the risks and ensure you are interacting with the correct contract before proceeding.
- Click
Okand confirm the transaction in your wallet to complete the deposit. - Our proxy smart contract will deposit the GNO(s) to your validators! YOU control the private keys, YOU control the withdrawal key(s)... these validators are now yours. Take good care of them!